Why Is the Bathroom Renovation Sequence So Important?
A bathroom is a small room, yet it brings together many systems and materials: water, drainage, electricity, floor falls, waterproofing, adhesives, finishes and sanitary equipment. For that reason, a complete renovation is not simply a tile replacement. It is a sequence of dependent stages in which each decision needs to be complete before it is covered by the next layer.
The wrong order often leads to repeated demolition. Moving a mixer after tiling damages a finished wall; an unchecked pipe behind tiles can turn a minor correction into a major repair; and an unprepared floor or incorrect fall towards the drain cannot be easily corrected after sanitary equipment has been installed. The useful principle is to resolve the layout, concealed work and substrates first, while visible finishes and equipment come afterwards.
The exact organisation depends on the condition of the room, the building type, the selected equipment and whether routes are being changed. Even so, there is a practical basic sequence that helps an owner plan the work, deliveries and important decisions without rushing.
Stage 1: Inspection, Measurement and Functional Layout
Before demolition, it is sensible to carry out a detailed bathroom inspection. Check the actual dimensions, heights, condition of walls and floor, any signs of moisture, and the position of risers, pipes, ventilation and electrical points. If there is a leak, drainage odour, unstable substrate or visible cracking, the cause should be understood rather than simply hidden behind new finishes.
The layout is then established. Determine the positions of the toilet, basin, shower area or bath, washing machine, cabinets and heating elements where applicable. This is not only a matter of convenience and style. The plan affects drainage connections, water outlets, mixer heights, electrical points, lighting and the free space needed to open doors and cabinets.
At this stage, it is useful to select the main models or at least their exact technical dimensions. A concealed cistern, linear drain, shower system, countertop basin and cabinet may each have different installation conditions. Decisions such as “we will decide that later” often create incompatibility between finished outlets and delivered equipment.
- Measure the actual room rather than relying on an old plan.
- Clarify every sanitary fixture and its installation method.
- Plan sockets, lighting and a fan according to future use.
- Check that the door, cabinets and appliances have sufficient operating space.
Stage 2: Demolition and Assessment of Exposed Substrates
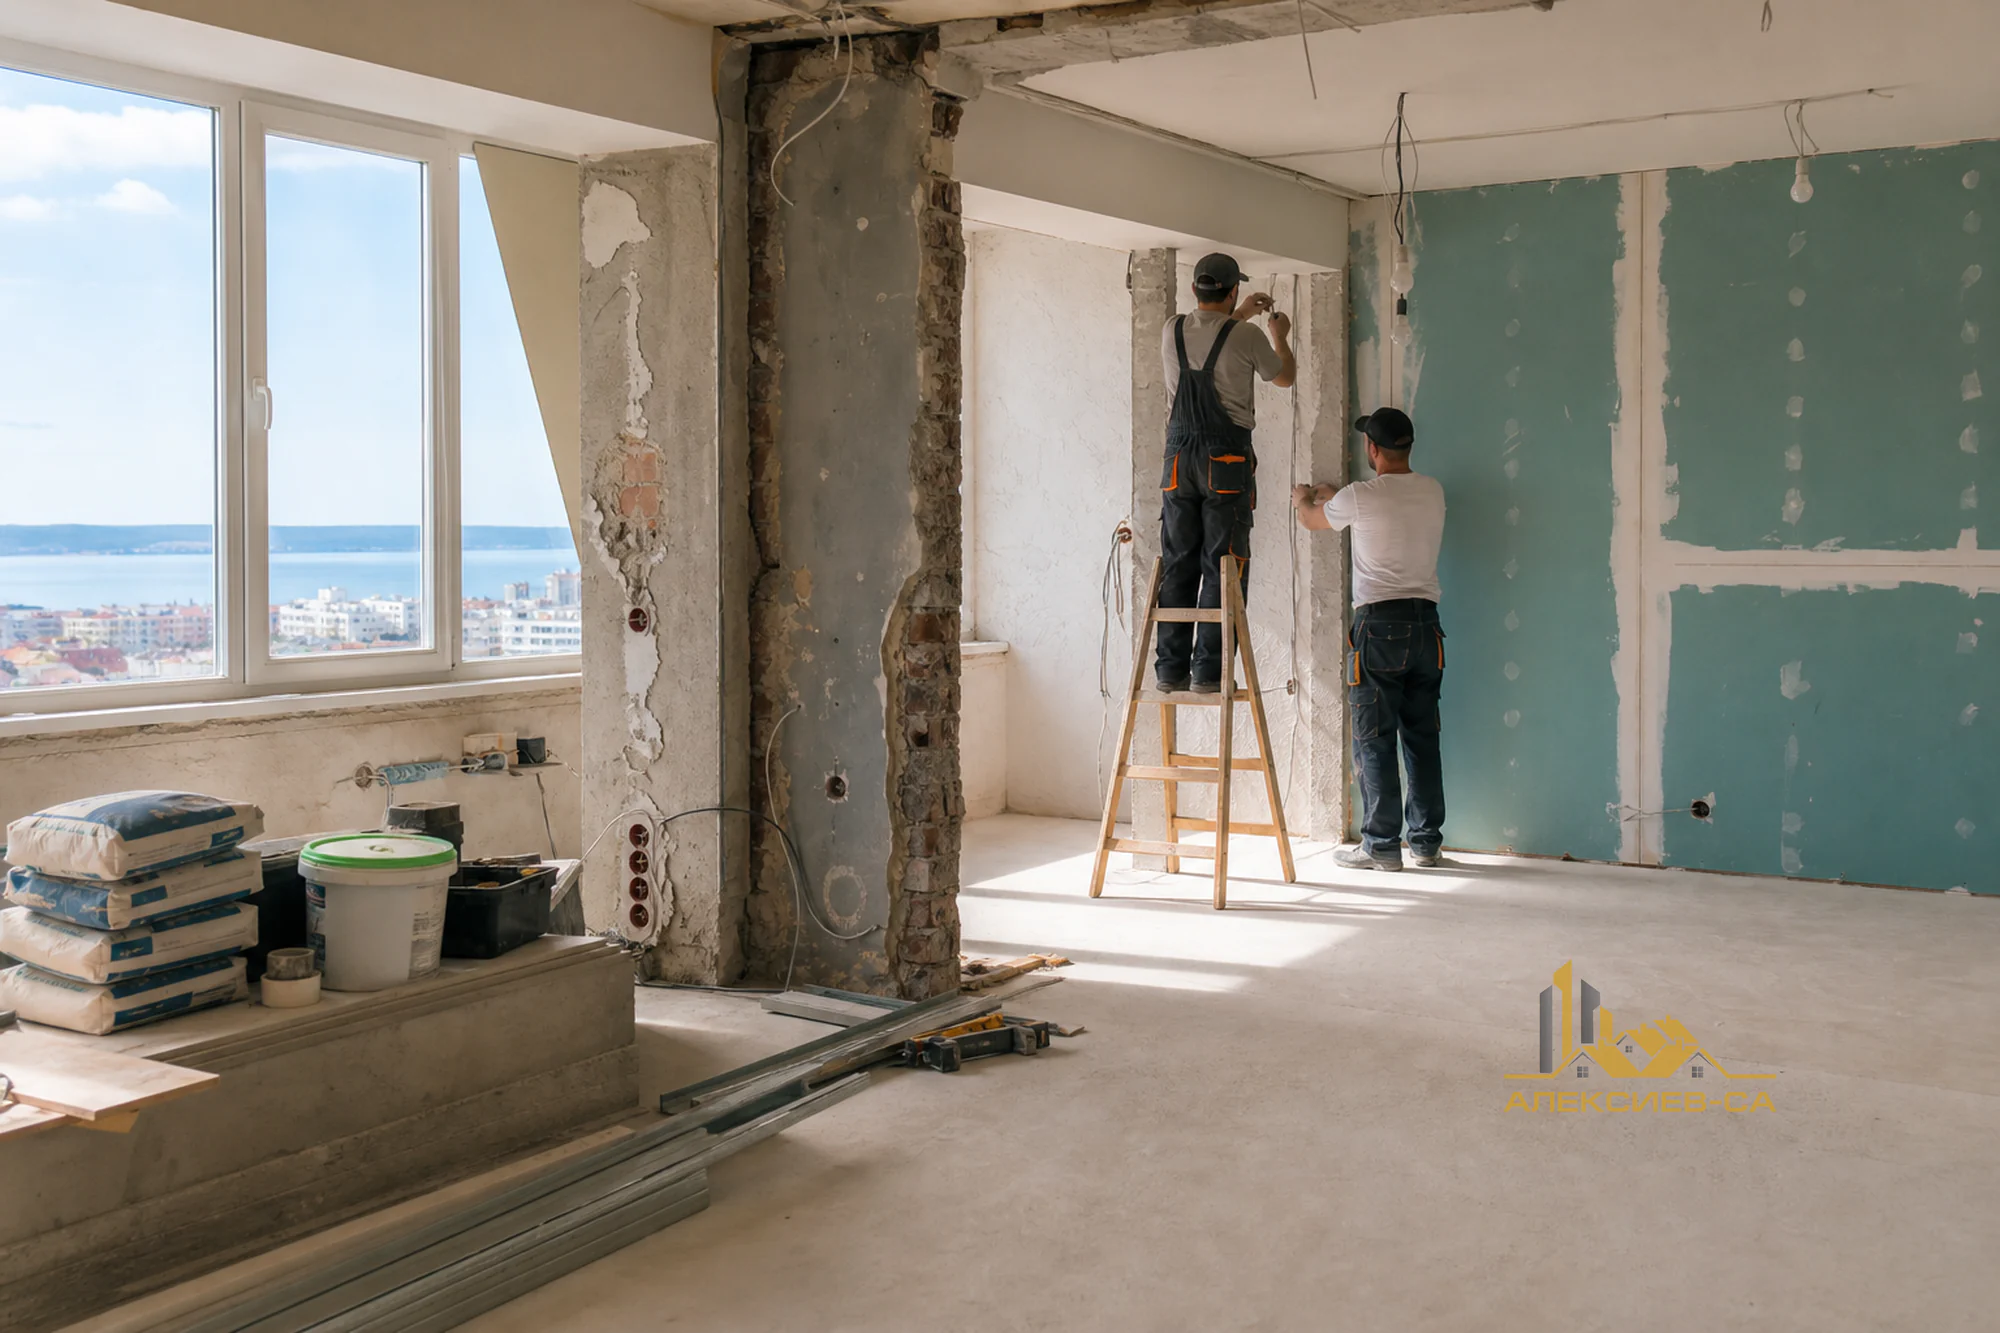
Demolition usually includes removing old sanitary equipment, tiles, adhesives, compromised plaster, floor layers and unnecessary installation components. Work should be careful around shared risers, existing routes and structural elements. The purpose is not merely to clear the room, but to reach a stable substrate on which the new layers can be built reliably.
This is often the point at which the bathroom’s real condition becomes visible. Behind old tiling there may be friable areas, voids, weak joints, signs of long-term moisture or old pipes. If these issues are left unresolved, new finishes will hide the symptom without removing its cause.
After demolition, substrates are cleaned of dust, weakly bonded material and residues that could interfere with adhesion of subsequent layers. Walls and floors are examined for flatness and stability. Where necessary, local repairs, levelling or new preparatory layers are planned.
Stage 3: Plumbing and Electrical Work Before Walls and Floors Are Closed
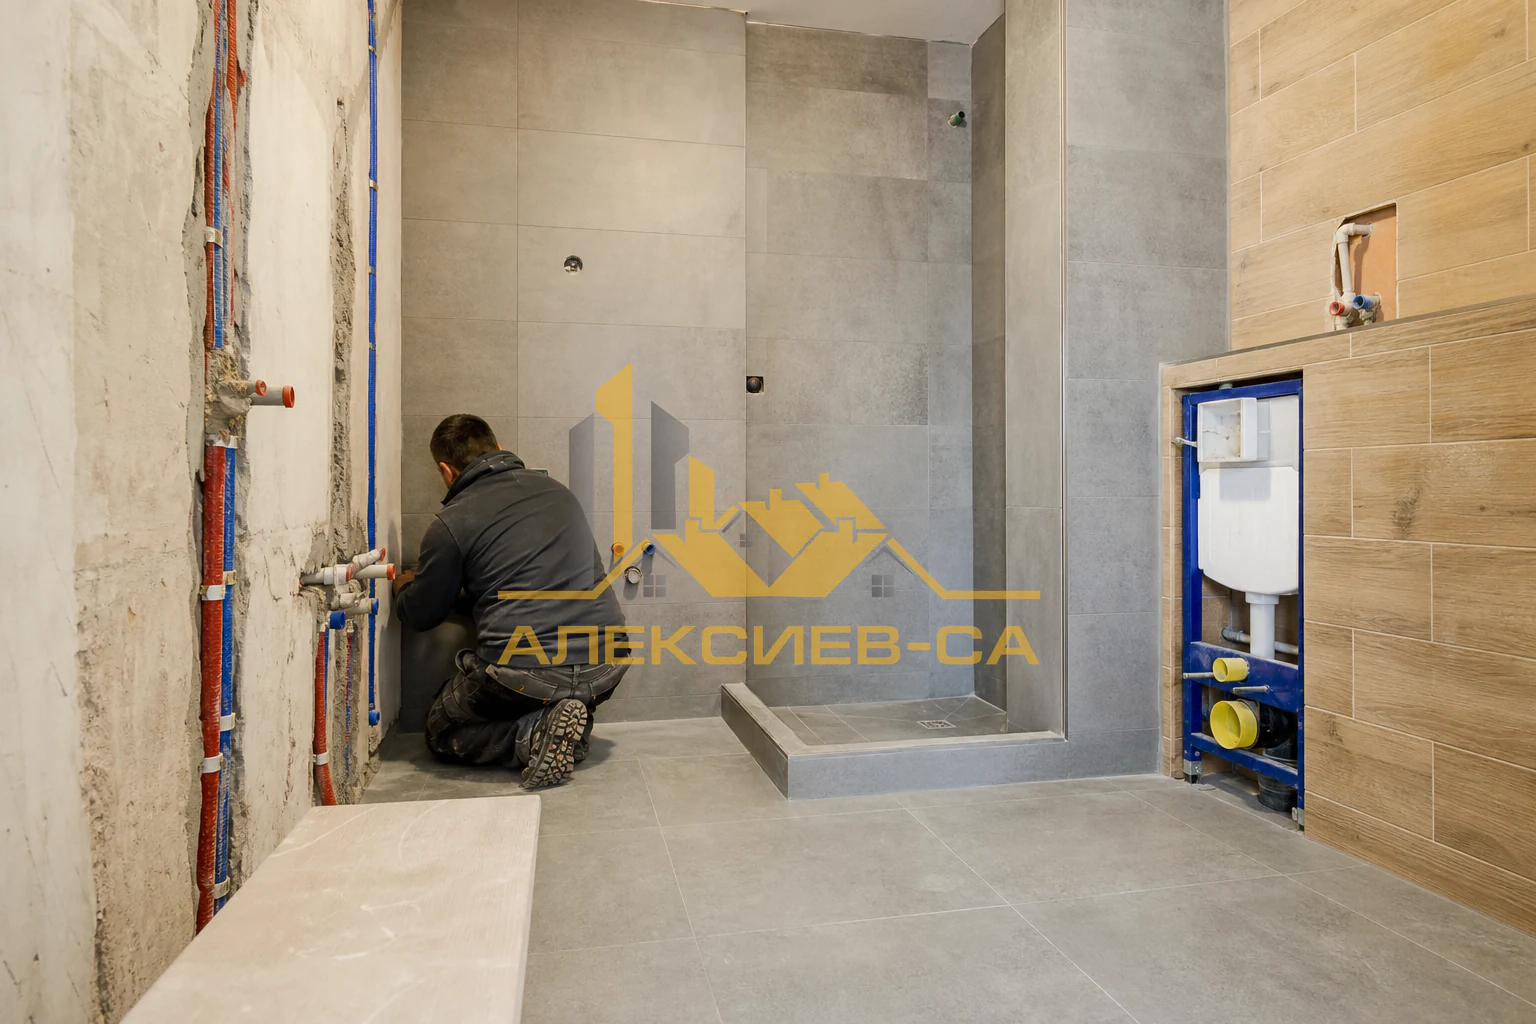
Once the layout is confirmed and substrates are accessible, concealed plumbing and electrical work can be installed or adjusted. For plumbing, this may include cold and hot water routes, drainage, outlets for mixers, basin, toilet, washing machine and other equipment. Drainage connections must be coordinated with the required direction of flow and the actual position of the drain and sanitary fixtures.
For electrical work, cable routes, mounting boxes, switches, lighting, sockets and power supply for equipment such as a fan, water heater or other appliances are clarified. Placement should not be decided only according to an empty wall. It should be coordinated with furniture, the mirror, the shower area and accessibility in daily use.
A useful practical measure is to photograph concealed routes before they are permanently covered. The photographs should preferably include reference points such as corners, the door, axes of sanitary fixtures and a tape measure. This can help avoid drilling into a pipe or cable when a cabinet, mirror or accessory is installed later, or when repairs are needed. Keep the instructions for concealed components, details of access openings and locations of shut-off valves together with these photographs.
Before pipes and cables are covered with plaster, levelling layers, screed or finishes, their positions should be checked. Confirm the heights and axes of outlets, fixing of components, accessible connections and compatibility with the selected models. Outlets should be protected from construction debris, while accessible threaded connections should remain clean. This is the last easy point for corrections.
| What Is Clarified | Why It Matters Before Tiling |
|---|---|
| Water and mixer outlets | Heights and distances need to match the specific equipment. |
| Drainage and floor drain | They determine possible floor falls and water drainage. |
| Sockets, switches and lighting | After walls are finished, moving them requires demolition and reinstatement. |
| Concealed equipment | Frames, cisterns and niches must be securely positioned before tiling. |
Stage 4: Preparation, Levelling and Forming Floor Falls
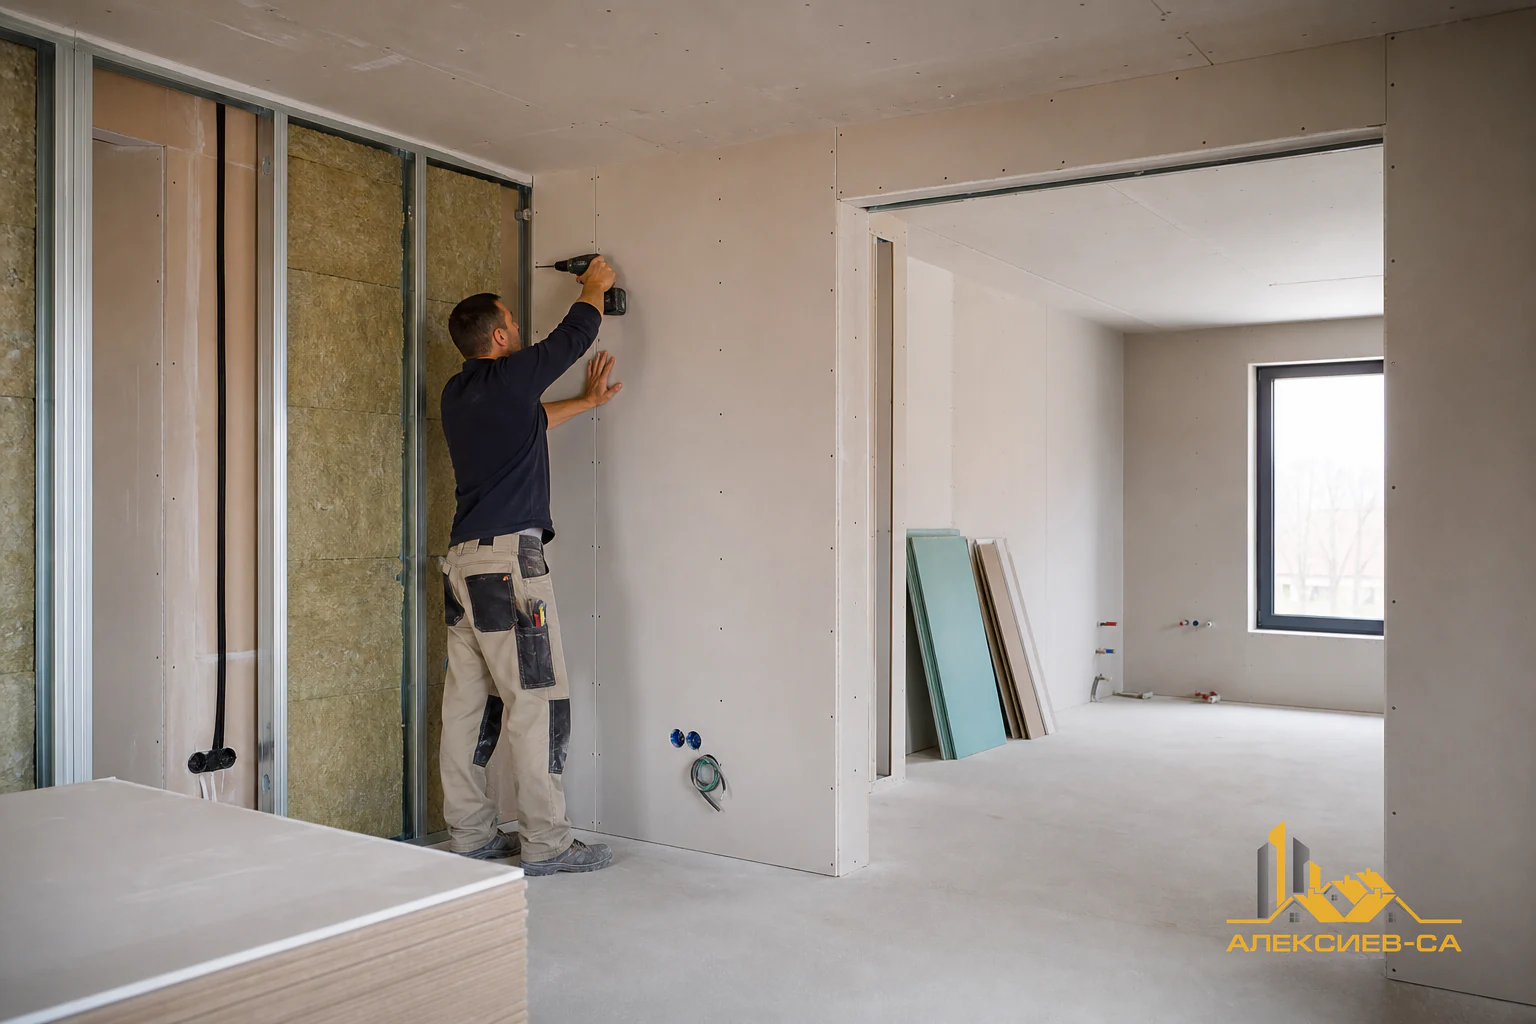
After concealed installations, chases are reinstated and walls and floors are prepared. The goal is for substrates to be stable, sufficiently even and suitable for waterproofing and tiling. For walls, this may mean correcting irregularities and forming true planes, particularly with large-format tiles, niches, concealed mixers or furniture with precise dimensions.
The floor needs particular attention because it must direct water towards the drain. The fall is not a decorative feature and should not be left to be compensated for only with tile adhesive. Its formation is planned according to the type and position of the drain, the size of the shower area, the threshold and the selected finish. The plane should allow drainage without creating uncomfortable breaks or water pooling.
When a linear drain, walk-in shower or large floor tiles are planned, coordination becomes even more important. The direction of fall, tile layout and levels at the doorway should be considered as one solution. This helps avoid excessively narrow cut strips, inconvenient transitions or compromise to drainage.
Stage 5: Waterproofing and Critical Connections
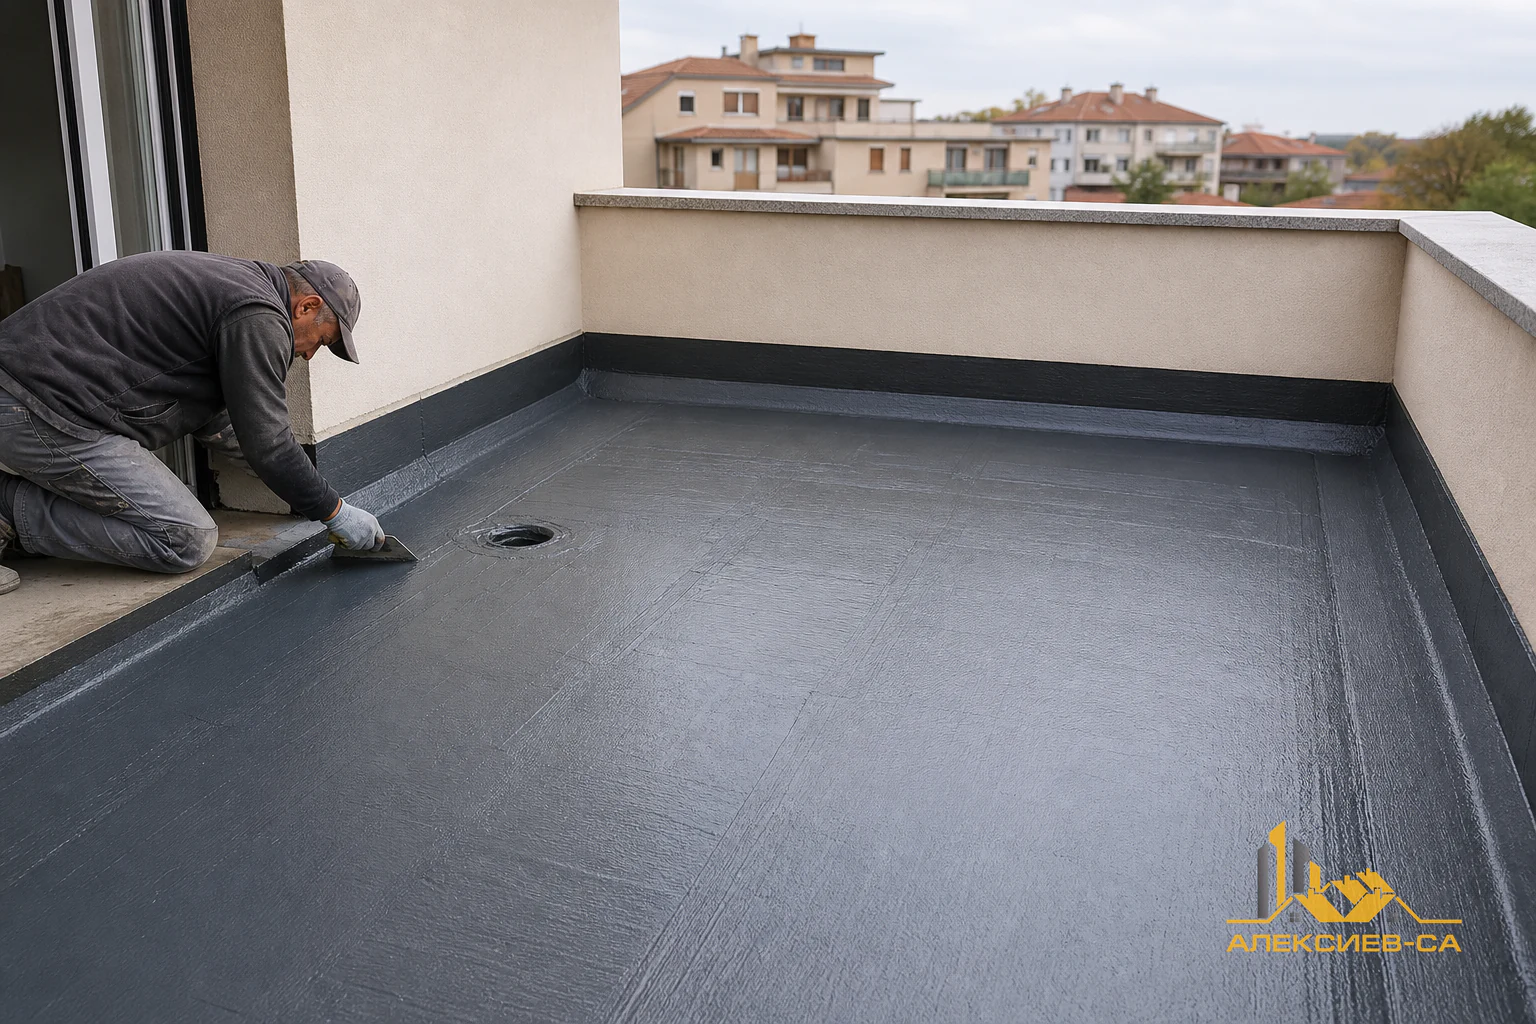
Waterproofing is installed over a prepared substrate and forms the protective layer below finishes in areas exposed to water and moisture. It does not replace correct falls, a sound substrate or properly executed plumbing connections. Instead, it works with them by limiting water penetration into floor and wall layers.
Particular attention is given to the floor-to-wall connection, internal corners, the area around the drain, pipe penetrations and connections around the shower. These are locations where different materials and planes meet, and where water can find a path if execution is incomplete or interrupted. Details should be completed as part of one system rather than as random local repairs.
Before adhesive and tiles are installed, check that the coating is continuous, that critical areas have been treated and that each layer has been given the necessary time according to the system used. Rushing this stage can compromise work that will later be hidden behind costly finishes.
- Treat the floor and wet areas as a system rather than separate patches of material.
- Corners, penetrations and the drain require precise treatment.
- The coating should be continuous and free from visible interruptions at critical points.
- Follow the system guidance for preparation and technological intervals.
Stage 6: Tile Layout and Installation
Tiles are installed after the substrate, levels, falls and waterproofing are complete. Before fixing, there should be a clear layout plan: where visible rows begin, where cuts will fall, how external corners, niches, access openings and areas around sanitary fixtures will be formed. Good geometry is achieved through advance planning, not only through adjustments during installation.
Wall finishes are normally arranged so that the most visible lines and joints look balanced. On the floor, the layout also has to work with the falls towards the drain. Tile size and surface affect the installation method, type of cuts and practicality of the finished result. A larger format is not automatically easier in a small bathroom with many changes of plane and details.
After tiling, grouting and elastic connections are completed where needed to accommodate movement between different surfaces. These are not secondary cosmetic details. Finishing around corners, sanitary fixtures, niches and transitions matters both for appearance and for limiting moisture retention.
Stage 7: Installation of Sanitary Equipment, Furniture and Final Connections
Only after finishes are complete and suitably prepared should sanitary equipment be installed. Depending on the plan, this includes a toilet, basin, mixers, shower system, screen, bath, cabinets, mirror, accessories and other elements. Installation should follow the previously agreed axes and heights rather than compensate for inaccuracies from earlier stages.
At this stage, final connections are made to water, drainage and electricity for the relevant equipment. Check the stability of suspended elements, sealing around contact zones and unobstructed movement of doors, drawers and shower screens. Access should be provided to components that may require servicing instead of closing everything without the ability to inspect it.
Final installation is also when the room starts to look complete. However, this is exactly when inconsistencies can become evident if there was no earlier coordination: a basin that does not cover the outlets, a mixer at an inconvenient height or a cabinet that prevents access to a connection. This is why a prior list of models and dimensions is so valuable.
Stage 8: Testing, Cleaning and Acceptance of the Work
Also check that access openings can be opened freely and provide access to the components for which they were intended.
Before the bathroom is used normally, every function should be checked in sequence. Run hot and cold water, inspect connections at the basin, toilet, mixers and appliances. Observe drainage towards the floor drain, including the shower area, so that water does not remain in unexpected places. Check lighting, switches, sockets and operation of the fan, if one is installed.
The inspection also includes visible details: grout, silicone joints, edges, openings, transitions and tile cleanliness. A small defect is easier to correct before the room is furnished and used every day. Good practice is for acceptance not to rely on a general impression, but to follow a specific checklist.
| Final Check | What to Observe |
|---|---|
| Water and connections | Leaks, dripping, stability of mixers and proper operation of shut-off components. |
| Drainage | Whether water reaches the drain without pooling in the shower area or on the floor. |
| Sanitary equipment and furniture | Fixing, level, door operation and access to necessary connections. |
| Finishes and joints | Straight lines, completed edges, clean grout and well-formed critical transitions. |
Planning a complete bathroom renovation?
Contact ALEKSIEV-SA for an inspection and a specific quotation based on the condition, layout and required scope of your bathroom.
Frequently Asked Questions
Frequently asked questions
What is the first step in a complete bathroom renovation?
The first step is an inspection and clarification of the functional layout before tiles or sanitary equipment are ordered. The locations of the shower, basin, toilet, drain, furniture and main electrical points should be clear. These decisions determine concealed plumbing and electrical work and prevent changes after the finishes have been completed.
When are plumbing and electrical installations changed during a bathroom renovation?
Plumbing and electrical changes are carried out after demolition and preparation of accessible substrates, but before levelling, waterproofing and tiling. Before routes are covered, their positions, heights, connections and compatibility with selected equipment should be checked. This prevents future corrections from requiring demolition of completed surfaces.
Are floor falls made before waterproofing?
Yes, floor falls towards the drain are formed at the preparation stage before waterproofing. The waterproofing layer follows the prepared geometry and protects the substrate below the finish, but it is not intended to compensate for an incorrectly formed floor. Falls should be coordinated with the drain type, shower area and level at the entrance.
Does the entire bathroom need to be waterproofed?
The waterproofing scope is determined by the specific room and areas exposed to water, but the floor and wet zones require particular attention. Critical details include floor-to-wall connections, corners, the area around the drain and pipe penetrations. Not only the coated area matters, but also continuous and correct treatment of the details.
Can sanitary equipment be purchased after tiles have been installed?
Final delivery can take place later, but models and their technical dimensions should be confirmed before concealed installations and finishes are completed. Mixers, concealed systems, basins, cabinets and shower screens have specific installation requirements. Early selection allows outlets, axes and openings to be completed accurately.
What should be checked when accepting a completed bathroom renovation?
Check the water supply, all visible connections, drainage towards the floor drain, operation of lighting and stability of sanitary equipment and furniture. Inspect grout, silicone joints, edges and transitions around the shower and basin. It is also useful to check doors, cabinets, access openings and access to serviceable components before the bathroom starts being used every day.