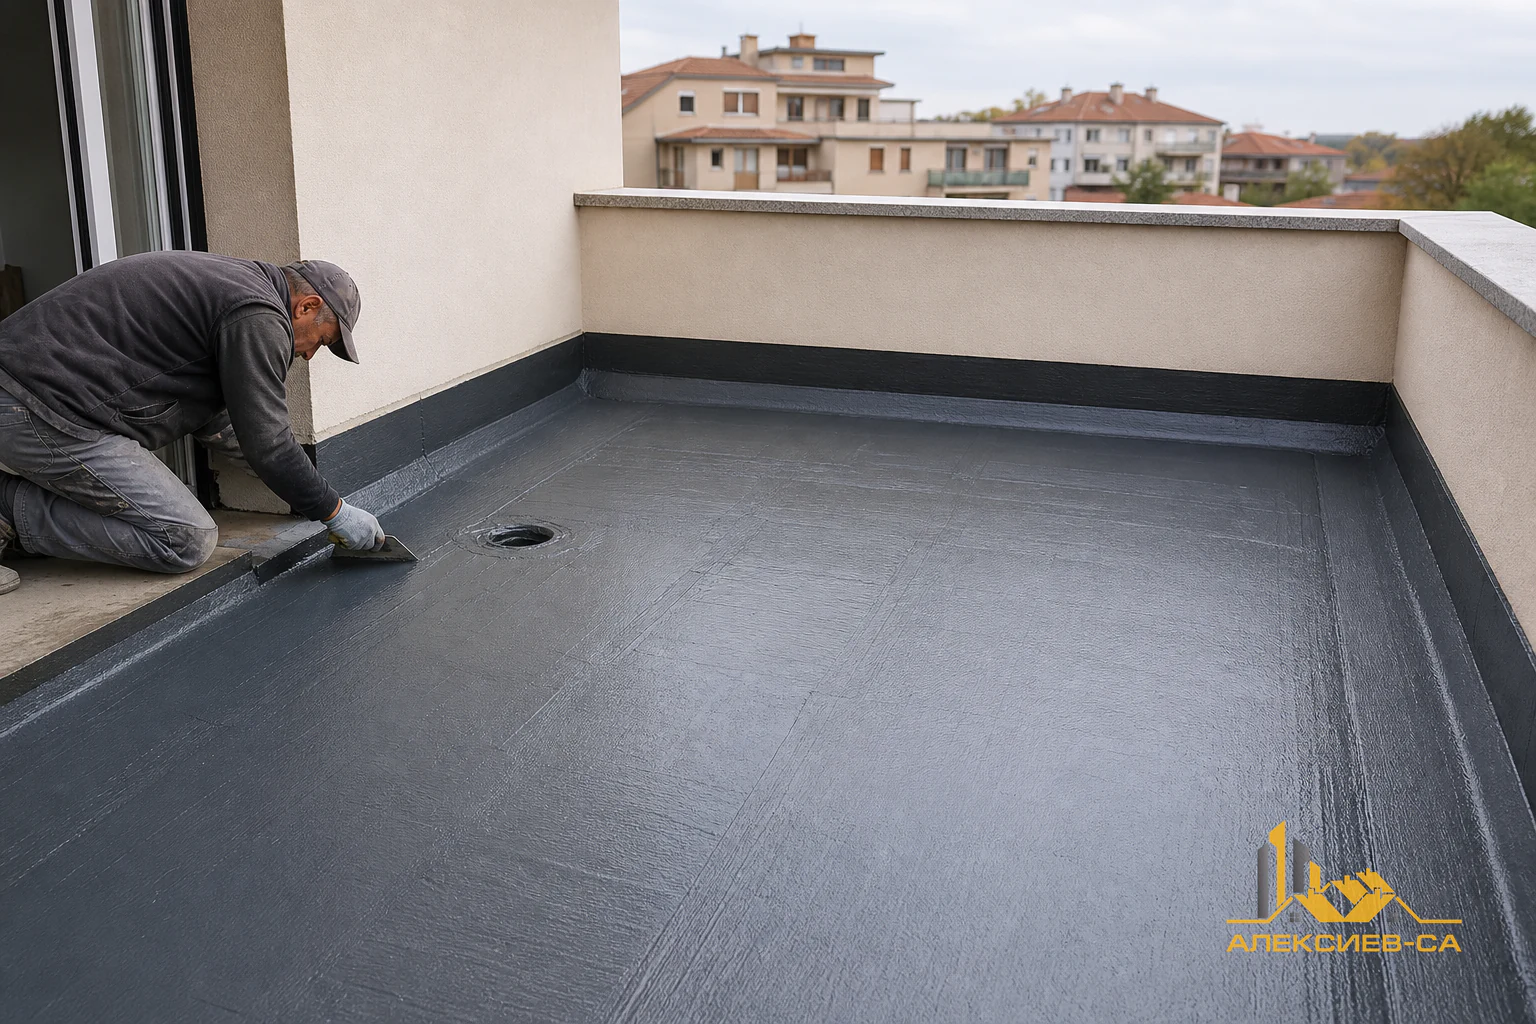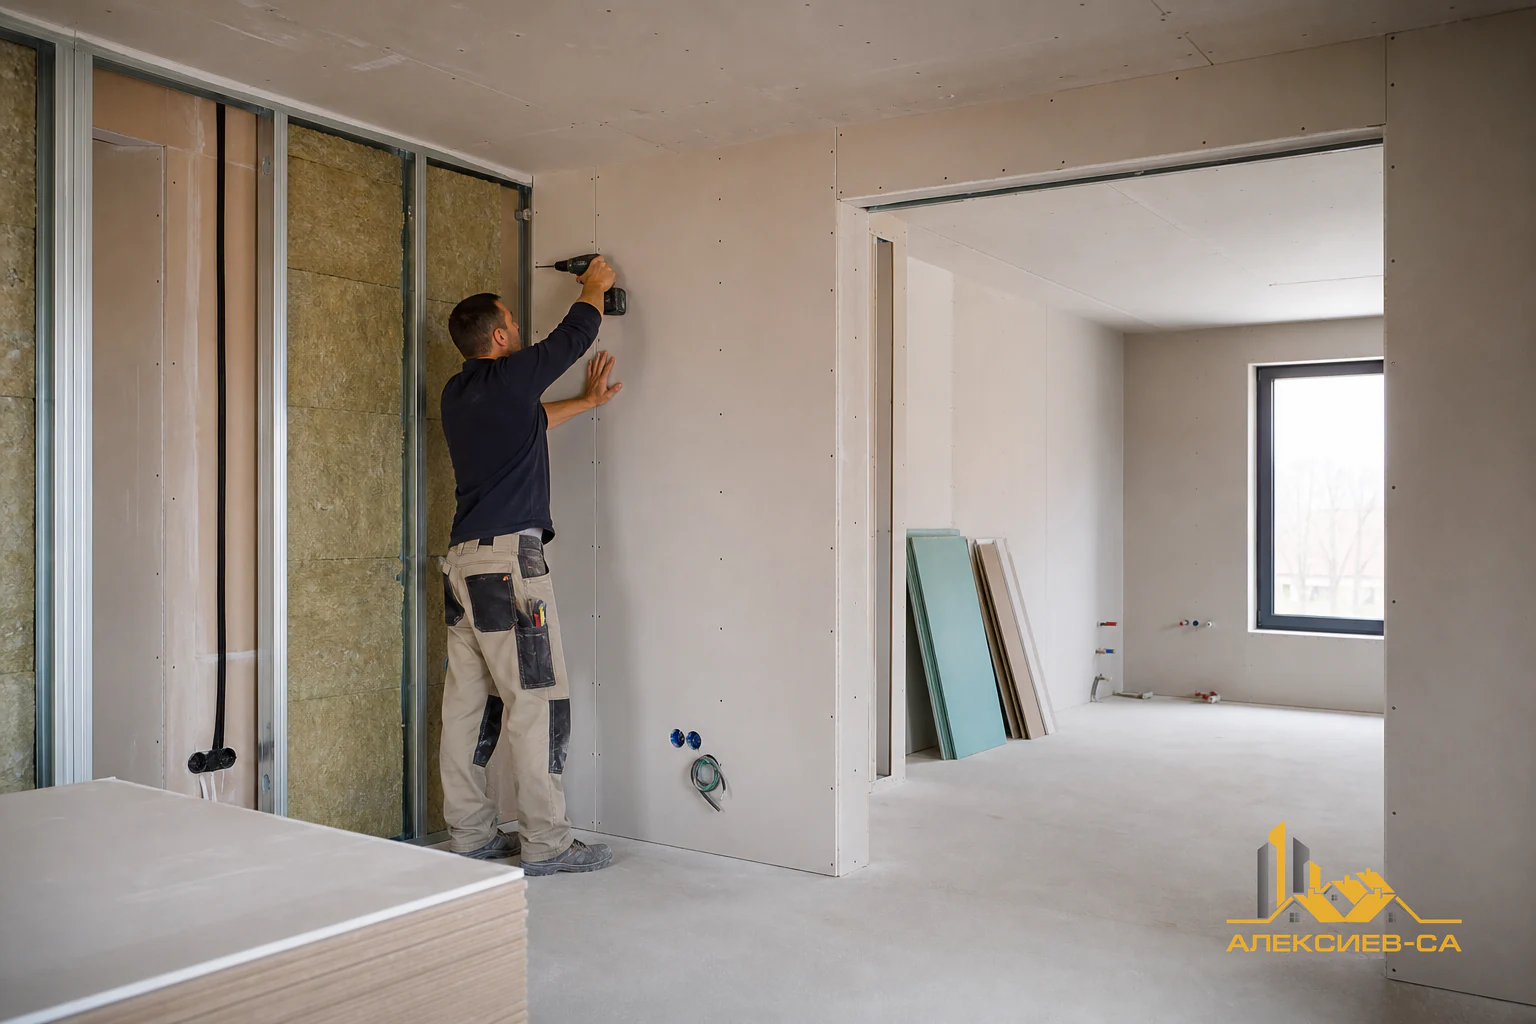
The Place of Drywall in the Finishing Sequence
Measure moisture levels where necessary.
Drywall is a system for building or correcting interior surfaces, rather than simply a lining fixed to a wall or ceiling. It can be used to form partition walls, suspended ceilings, wall linings, service shafts, niches and decorative features. The system makes it possible to conceal routes, correct uneven substrates and organise a new layout without building solid masonry walls.
During house finishing, this stage normally begins when the building is sufficiently protected from weather, the main wet trades have progressed and room decisions have been clarified. The most important condition is not a fixed date in the schedule, but whether the particular area is ready for work. The roof, external enclosure and openings should limit rain and wind ingress, while active sources of moisture must be under control.
Drywall should not be installed to conceal unresolved defects. A roof leak, an unplanned pipe penetration, an unstable substrate or a missing access opening may remain hidden briefly, but can later require removal of finished surfaces. The right time for installation is therefore after planning and checks, but before final finishes make corrections difficult and costly.
Which Decisions Should Be Ready Before Installation
Before profiles and boards are ordered, each room needs a clear intended use. This determines partition locations, ceiling heights, board type, lighting positions, access openings and the need for an insulation layer. Changing a layout after the frame has been built is possible, but it often requires dismantling, relocating services and restoring joints.
It is useful to clarify in advance the furniture and equipment that will be fixed to walls. Kitchen units, sanitary items, televisions, brackets, light fittings or heavy decorative objects may require additional reinforcement within the frame. The board itself is not a universal fixing base for every load; the fixing method is determined by the particular item and the system behind it.
Coordination of levels is particularly important. With a suspended ceiling, the available space for profiles, light fittings, ductwork, cables and possible insulation should be assessed. With a wall lining, check how much the clear room dimension will reduce and whether doors, windows, skirtings and finishes have been planned for the new plane.
| Decision before installation | Why it matters | What to check |
|---|---|---|
| Room layout | Determines wall and opening positions | Axes, doors, swing direction, clear dimensions |
| Lighting and electrical points | Cables and boxes remain behind or within the system | Centres, switches, sockets, power supplies |
| Plumbing and climate-control routes | Access becomes limited after closing | Connections, falls, pipe insulation, access points |
| Equipment mounting | Some loads require reinforcement | Locations, dimensions and future fixing method |
| Room type | Determines the appropriate system and board | Moisture, sound and other design requirements |
Not every interior detail needs to be selected finally, but all decisions that alter the frame or concealed routes should be known. Good early coordination prevents improvised drilling, cutting into completed boards or adding inaccessible connections.
Choosing a System: Partitions, Ceilings and Linings
A partition wall is a lightweight structure of metal profiles, boards and, where needed, insulation material within the cavity. It separates rooms, forms niches and conceals local routes. Profiles are arranged according to the selected system and design task, while boards are installed so that joints and edges can be treated correctly.
A suspended ceiling is used when a level lower plane is required, services need to be concealed or lighting arrangements need to be formed. Its frame is suspended and levelled from the supporting substrate. Accurate height is essential here: insufficient space can make installation and servicing difficult, while excessive depth unnecessarily reduces the room volume.
A wall lining is installed in front of an existing wall. It can correct irregularities, provide space for cables and pipes, or receive insulation as part of a specific solution. The substrate behind it must be dry and stable. If active moisture is present, the cause should first be identified and removed, because an enclosed void is not a solution for a defective wall.
Frame, Levelling and Substrate Preparation
The quality of the visible surface starts with the concealed frame. Before installation, walls, axes, openings and levels are set out. This should be coordinated with actual room dimensions, not only with drawings, because construction deviations may occur. This is the time to check diagonals, changes of direction, column and beam positions, and connections to windows and doors.
Metal profiles must form a stable and even frame. In ceilings, levelling determines whether the finished surface will look straight in relation to walls, openings and lighting lines. In partitions, plumbness, straightness and correct opening formation are checked. A distorted frame cannot be reliably corrected with additional skim coat; it increases material use and does not eliminate the original cause.
The substrate to which the system is fixed should be inspected for weak areas, existing cracks, water marks and unsuitable fixings. In renovation work, it is important to know what lies behind an old lining or plaster so that unverified load-bearing capacity is not assumed. Service openings through ceilings and walls should be coordinated carefully rather than made after the frame is complete.
A practical check before boarding includes:
- checking levels, plumb lines and profile positions;
- stability of fixings to the substrate;
- accurate dimensions of doors, niches, shafts and access openings;
- planned reinforcements for future loads;
- clean and accessible space for services;
- no active moisture or unresolved leaks.
These checks are easiest while the frame remains open. After boards are installed, deviations can be harder to identify, while access to concealed components requires local opening.
Coordination with Electrical, Plumbing, Climate Systems and Insulation
Drywall is often installed around services, so it should not be treated as an isolated stage carried out without communication with other trades. Electrical cables, mounting boxes, low-voltage routes, water and drainage pipes, air-conditioning lines and ventilation ducts have different requirements for location and access. Before closing, it should be clear where every route passes and how it can be serviced when necessary.
Electrical points are set out from the finished wall or ceiling, not from the old wall or ceiling. This prevents a socket, switch or light fitting from ending up at an unwanted height after a lining is added. Cables and boxes are checked before being covered, and openings for fittings are made according to the specific system and lighting solution.
With plumbing routes, connections, falls and access to valves or inspection points are especially important. A shaft concealing pipes should have a practical servicing solution rather than turning every future inspection into demolition. Pipes may require insulation according to their function, and the frame must not compress them or interfere with their operation.
Insulation between profiles is installed after the frame and services have been checked. It should perform a specific task, for example acoustic or thermal, and be placed evenly without unnecessary gaps or compression. Not every cavity is necessarily filled in the same way; the choice depends on the wall, ceiling and intended outcome.
Board Installation and Joint Treatment
After the open frame has been accepted, boards are installed. They are arranged and fixed according to the selected system, with attention to joint locations, openings and corner details. Joints should not be uncontrolledly concentrated in one location, while small cut pieces around openings can create weak areas that are difficult to finish. Proper cutting makes both installation and subsequent skim coating easier.
Fixing heads should be positioned so they can be treated without tearing the board facing. Driving a screw too deeply weakens the fixing, while insufficient depth remains visible below the finish. Openings for lighting, access panels and services are made precisely so that excessively wide areas do not remain around the elements.
Joint treatment is the technical transition between individual boards. It includes suitable compound, reinforcing tape at joints and sequential levelling of the surface. Screw heads, external corners and junctions with adjacent elements are also treated. The aim is not simply to make the joint disappear immediately, but to create a stable base for the following layers.
Particular attention is required at junctions between different materials and elements that may move in different ways. Where a drywall surface meets a solid wall, column, window frame or another structure, it should not be assumed that one rigid layer will accommodate all movement. The detail is executed according to the intended system, and before skim coating it is checked for torn board facing, loose edges or inappropriately filled larger gaps.
Temperature, humidity and ventilation in the room affect the drying of jointing and skim-coating materials. Accelerating the process through excessive heating, or working over a layer that has not dried, can impair flatness and sanding quality. Before applying a subsequent layer, it is practical to check that the previous one has dried evenly, especially around corners, repaired areas, openings and fixing heads.
After sanding, dust should be removed from the entire surface, including internal corners and areas around openings. This allows primer and following coatings to adhere to a clean substrate, while minor defects become easier to identify during the final inspection. If local irregularities are revealed under raking light, they should be corrected before painting rather than left to be concealed by paint.
After the required drying and sanding, the surface is inspected under raking light. This reveals waves, edges, tool marks and poorly levelled transitions that may remain visible after painting. Priming and final skim coating are carried out according to the selected system, while the final coating is applied over a dry, clean and even substrate.
Checks Before Painting, Flooring and Final Acceptance
Before subsequent finishing stages, it is sensible to carry out a systematic inspection. Check whether walls and ceilings are even, corners are neatly formed, access panels work and all planned lighting and equipment points remain accessible. For partitions, inspect door openings and junctions with adjacent surfaces, because inaccuracies in these areas often become apparent after frames and skirtings are installed.
The sequence after drywall depends on the overall organisation. Final skim coating, primer and painting normally follow, but flooring, cladding, doors and installation work should be coordinated so completed surfaces are not damaged. Wet or dusty works left until later can damage a finished ceiling or wall and require repeated treatment.
Checklist before acceptance:
- planes without visible waves and abrupt transitions under raking light;
- straight, stable and neatly formed corners;
- treated joints and fixings without clearly visible lines;
- correct position of openings, switches, sockets, lighting and access panels;
- access to all planned serviceable elements;
- protected completed surfaces before the remaining works.
When drywall installation is needed in Varna and the region, ALEKSIEV-SA provides partition walls, suspended ceilings and wall linings for renovation and new construction. For a specific solution, the scope should be clarified according to the room, services and following finishing stages.
Planning drywall during your finishing works?
Send an inquiry for an inspection and a specific solution for your rooms, frame and installations.
Frequently Asked Questions
Frequently asked questions
When is the best time to install drywall in a new house?
Installation is normally planned after the building is protected from weather, the layout has been clarified and the main concealed services have been set out or installed. The system should not close in active moisture, leaks or uncertain routes. Before boarding, levels, the frame, services and required reinforcements should all be checked.
Is drywall installed before or after electrical and plumbing services?
The frame and services are coordinated as one process. Main routes, boxes, pipes and penetrations should be clarified before boards close the system. Some elements are installed after the frame but before boarding, while final sockets, switches and light fittings are normally fitted later, after the relevant finishing works are ready.
What type of drywall is used for a bathroom or another humid room?
In rooms with higher moisture, suitable moisture-resistant solutions are used, selected for the particular area and system. They are not an independent replacement for waterproofing in areas exposed directly to water. Proper junctions, suitable finishes, ventilation and coordination with plumbing details are also required.
Is insulation needed inside a drywall partition wall?
Insulation in the cavity can be useful when improved acoustic or thermal comfort is sought, but it should not be placed automatically in every system. Its type and thickness depend on the purpose of the wall, the rooms on either side and the chosen frame. It is important to install the material evenly after concealed services have been checked.
How is drywall prepared for painting?
Preparation includes treating joints with suitable compound and tape, skim coating fixing heads, forming corners and subsequently levelling the surface. After drying, the required sanding and inspection under raking light are performed. Before painting, the substrate should be dry, clean, even and primed according to the selected finishing system.
What should be checked before the frame is closed with boards?
Check the levelling and stability of profiles, opening positions, every cable, box, pipe and access point, as well as reinforcements for future equipment mounting. If insulation is planned, it is placed after this inspection. Documenting concealed routes with photographs is useful, because access to them becomes limited once the structure is closed.