The final appearance starts with the substrate, not with the paint colour
Skim coating and painting are the last major operations on interior walls and ceilings, but they are not simply decorative finishing. This is the stage when light begins to reveal every deviation in the plane, tool mark, untreated corner, visible joint or difference in substrate absorption. An attractive colour cannot compensate for an unprepared surface; in some cases it makes the issue more noticeable, especially in raking daylight or where light fittings are directed close to a wall.
In a new house or a full finishing project, final surface preparation usually follows completed and dried plastering, closed and treated drywall systems, completed concealed installations and resolved details around openings, niches, access panels and ceilings. Before work begins, all parties should have a clear understanding of the expected surface quality. A wall behind a tall cabinet and a living-room ceiling with large windows are not perceived in the same way and do not place the same demands on preparation.
A consistent process reduces the risk of repairs after painting. It begins with an assessment of the substrate, continues through local repairs, skim coat layers and controlled sanding, and ends with primer, paint and an inspection in conditions close to actual use. The required drying time should be allowed between operations according to the selected system and the conditions inside the rooms.
When walls and ceilings are ready for skim coating
Readiness is not determined only by whether plaster or drywall joints appear dry at the surface. The substrate must be stable, clean and free from unfinished processes that could wet, disturb or damage it. If demolition for a new outlet, installation of heavy elements without planned reinforcement or prolonged wet work in an adjacent area is still ahead, the likelihood of contamination and repairs is high.
On plastered walls, inspect the plane, the edges around openings, cracks, friable areas and locations where different substrate materials meet. Small local defects can be corrected as part of preparation, but active cracks, poorly bonded areas or signs of moisture should not be concealed with a finishing layer. The cause should first be clarified and a suitable solution selected for the substrate itself.
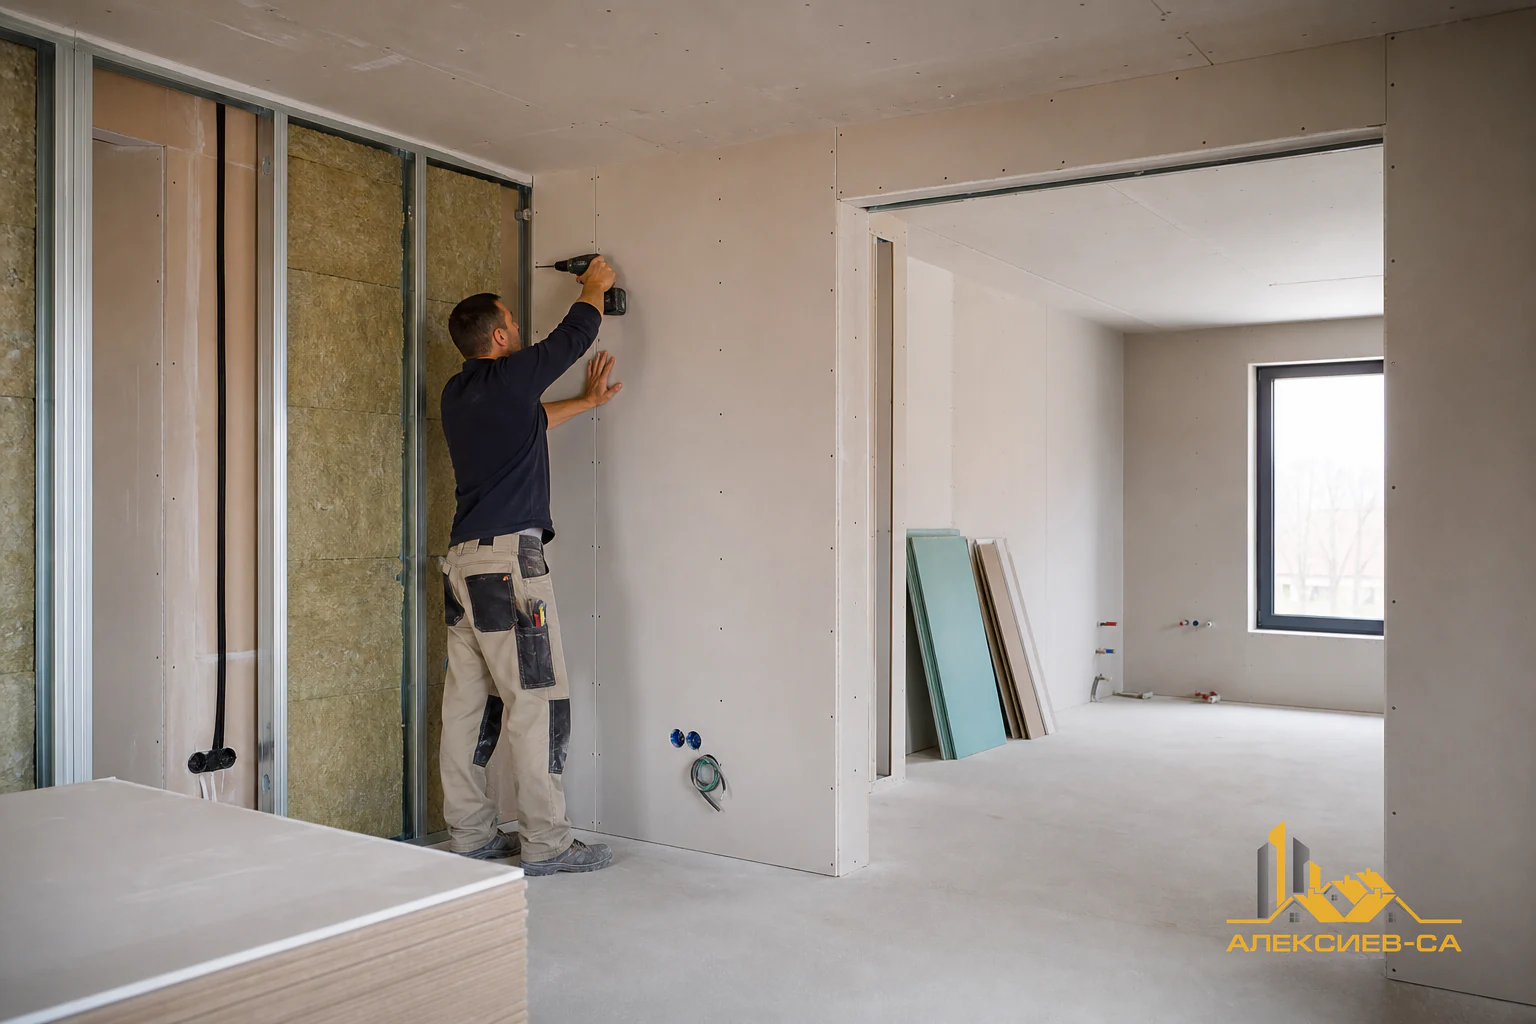
With drywall, check the stability and plane of the framing, treatment of joints, screws, external corners and transitions to other materials. Installation irregularities or insufficiently treated joints often become visible only after painting. For that reason, inspection before full skim coating is considerably easier and cleaner than repairing a finished painted surface.
| What to check | Why it matters | What to do if there is an issue |
|---|---|---|
| Stability and adhesion | A weak substrate cannot reliably carry subsequent layers | Remove the compromised area and restore the substrate |
| Moisture and drying | Retained moisture can affect bonding and the finish appearance | Find the source, then allow suitable drying and ventilation |
| Plane and edges | Light highlights waves, hollows and uneven lines | Carry out the required levelling before the finish layer |
| Joints and corners | These are common locations for visible lines and cracking | Treat them with compatible tapes, profiles and materials |
| Dust and contamination | They reduce adhesion and cause uneven absorption | Clean the surface carefully before the next stage |
A practical sequence from preparation to final skim coating
The exact number of operations and the materials used depend on the substrate, the system and the required finish level. However, the working logic remains similar: first remove problems, then level the surface, and only at the end work towards smoothness and a uniform appearance. Skipping an intermediate stage rarely saves time because defects return during sanding, priming or after the first paint coat.
- Inspect all walls and ceilings in natural and working light, marking cracks, holes, edges, joints and areas with different texture.
- Protect windows, floors, sockets, window sills and other completed elements that could be soiled or scratched.
- Remove dust, mortar residues, loose material and contaminants that could affect adhesion.
- Carry out necessary local repairs, form corners and treat transitions between different materials.
- Apply levelling and finishing layers in the sequence required by the system, without trying to correct major defects with an excessively thick finish layer.
- Allow each layer to dry sufficiently before sanding or applying a new layer.
Skim coat layers have different roles. A coarser or levelling layer corrects larger deviations and fills treated areas. The final layer is intended to provide a uniform, smooth base for paint. On ceilings and broad walls, the application method should maintain continuous work across the surface in order to limit visible overlaps and differences in texture.
Window openings, external corners, wall-to-ceiling connections, niches and areas around light fittings need particular attention. These are locations where lines are clearly visible and where a change of material or direction can create tension in the finished appearance. Details agreed in advance make it possible to treat them properly rather than improvise at the end.
Sanding, dust removal and checking the plane
Sanding is not merely mechanical smoothing. It is a control stage in which high spots, trowel marks, edges, scratches and poorly blended repairs are identified. If sanding begins too early, the layer can tear or clog the abrasive. If the work is too aggressive, local hollows and an uneven texture may be created. The goal is an even, uniform surface, not simply the removal of visible material.
It is useful to inspect surfaces at an angle. Raking light, a hand lamp or light from a window reveals defects that frontal illumination can hide. On large areas, control should be carried out in stages rather than only after an entire floor is complete. This makes it possible to correct a repeated error in time, before it is transferred across all rooms.
After sanding, thorough dust removal is essential. Dust can weaken the bond of primer and paint, form roughness and cause an uneven appearance. Not only walls and ceilings should be cleaned, but also sills, frames, floors and difficult edges from which dust can be redistributed during painting.
Primer connects preparation with paint
Primer is the intermediate layer between the prepared substrate and the paint. Its role is to equalise absorption, bind remaining fine dust and support even application of the following coating. Its selection should suit the substrate type, the skim coat used and the paint recommendations, rather than being treated as a universal liquid for every situation.
A surface with uneven absorption can lead to variations in sheen, patches or inconsistent colour density. This is often noticed after drying, when the wall already appears painted but light reveals differences between local repairs and the rest of the area. Proper priming does not replace quality sanding, but it provides a more predictable base for paint.
Primer is applied to a clean, dry surface. Pools, runs and missed areas can affect the finish layer, so coverage should be even. After application, the necessary time should be observed before painting starts. Ventilation should support drying without introducing dust or creating excessively abrupt conditions in the room.
Painting: consistency, interruptions and work by room
Before painting, clarify the colour, sheen level, paint type and locations where different colours meet. A sample applied to a small area is useful because the same colour is perceived differently depending on daylight, artificial lighting, floor finishes and adjacent surfaces. This is a safer approach than choosing solely from a catalogue swatch.
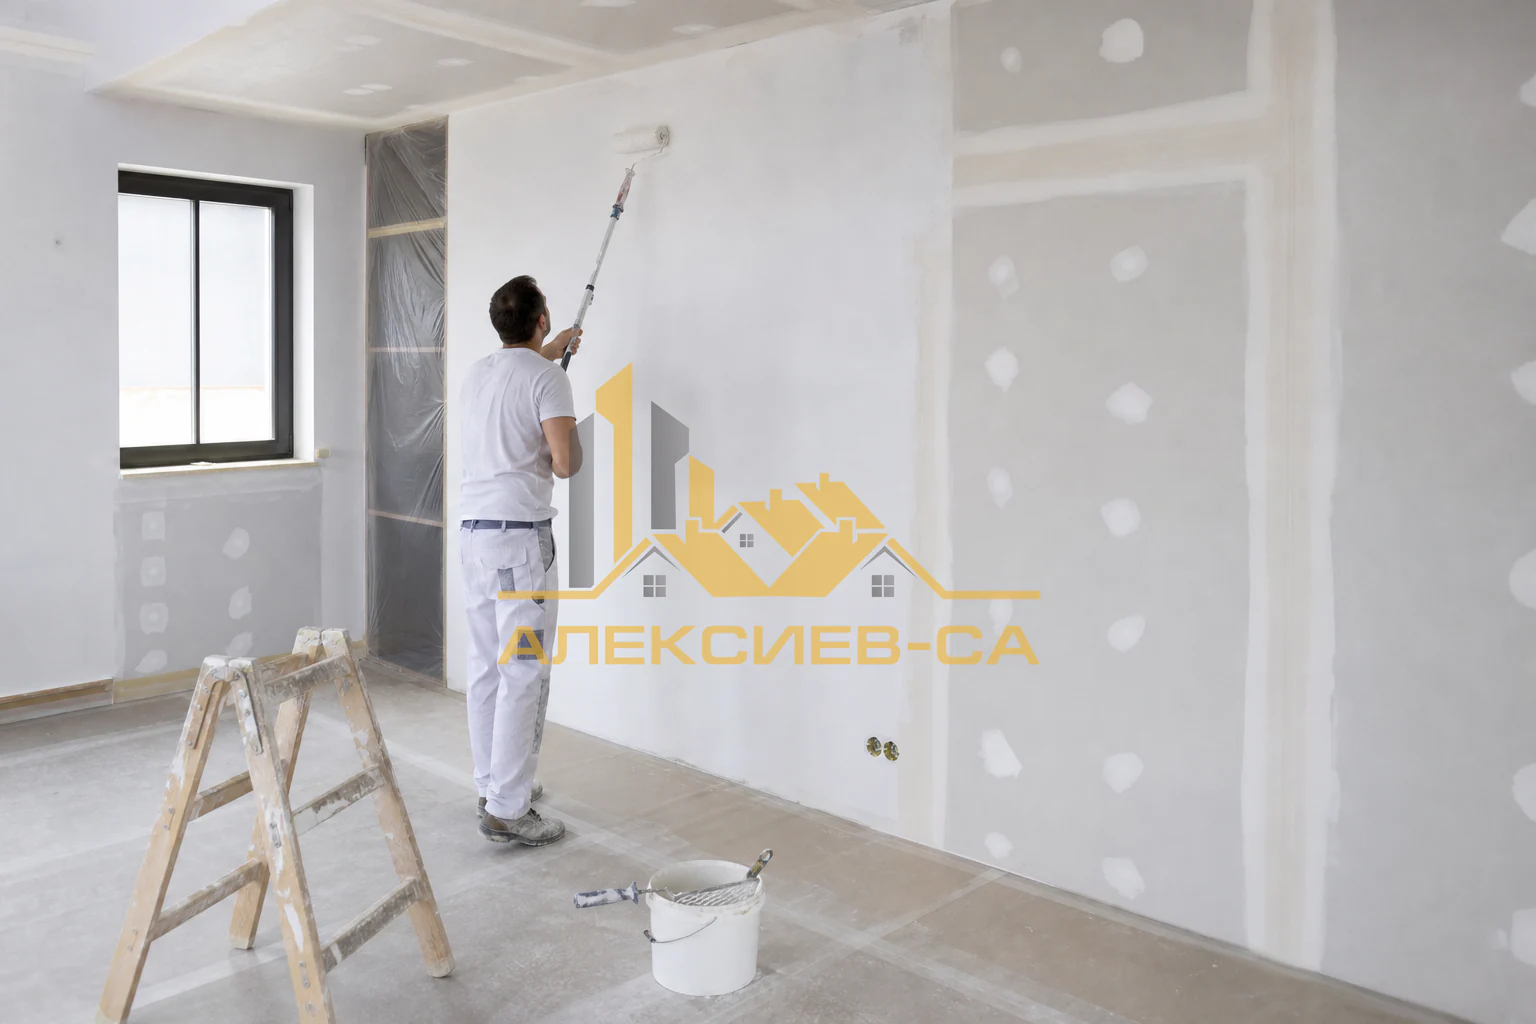
Paint is commonly applied in more than one coat according to the product, substrate and required colour result. Each following coat starts after the previous one has dried sufficiently. When working on a large wall, it is important to maintain a consistent rhythm and avoid random interruptions in the middle of a visible area. This limits the risk of overlaps, different texture and uneven coverage.
The sequence between ceilings, walls, frames, sills and other elements should be organised so completed parts remain protected. Clean lines around ceilings, windows, sockets and niches are not only an aesthetic matter; they show that individual details have been planned and finished carefully. After painting, work that produces dust or could strike the walls should not begin immediately.
| Stage | Main purpose | Control question |
|---|---|---|
| Colour sample | Check the actual perception in the room | How does the colour look in the morning, evening and with lights on? |
| First coat | Create even initial coverage | Are there missed areas, runs or uneven absorption? |
| Intermediate inspection | Identify defects before the finish | Are marks, patches or mechanical damage visible? |
| Final coat | Equalise colour and texture | Is there continuous, even coverage across the full surface? |
Final acceptance inspection under different lighting
A final inspection is most useful when it is methodical rather than a quick look from the room entrance. Walls and ceilings should be checked from a normal viewing distance, in daylight and under the lighting that will be used in the home. Areas beside large windows, long corridors, ceilings with recessed lighting and walls receiving raking light are particularly important.
Look for visible missed paint, differences in shade or sheen, runs, roughness, roller marks, unclear edge lines and remaining sanding marks. Also inspect the interfaces between paint and other completed materials: windows, finishes, sills, doors and light fittings. Protective tapes should have been removed carefully without chipping or damaging the new coating.
It is helpful for observations to be specific and grouped by room. Rather than saying generally that a wall is not good, identify the location, defect type and lighting in which it is visible. This makes corrections understandable and prevents unnecessary work on areas that meet the agreed quality level.
How to plan the finishing stage without unnecessary repairs
Good planning starts with coordination. Before skim coating, the locations of lighting, sockets, switches, access panels, curtain rails, air-conditioning units, custom furniture and all elements that could require drilling or changes to walls should be clarified. Not every accessory needs to be installed, but its type and intended position should be known.
Paint selection is also connected to how the room will be used. High-traffic areas, children's rooms, corridors, kitchens and spaces with higher humidity may require different coating properties. The decision should be made according to the specific environment, maintenance needs and compatibility with the substrate. Colour matters, but it is not the only criterion.
ALEKSIEV-SA provides skim coating, wall preparation and painting for houses, apartments and properties in Varna and the region. During an inspection, the condition of the substrates, the necessary preparation scope and the required finish level can be discussed so the work can be organised in a logical sequence.
Need skim coating and painting?
Contact ALEKSIEV-SA for an inspection and quotation for wall preparation, skim coating and painting.
Frequently asked questions
When can skim coating begin after plastering or drywall installation?
Skim coating can begin when the substrate is stable, clean and sufficiently dry for the selected system, and when activities that could wet or damage it have been completed. With plaster, strength, cracks and the plane should be checked; with drywall, inspect the frame, joints, screws and corners. The safest approach is to assess readiness on site rather than relying only on elapsed time.
How many skim coat layers are needed for walls and ceilings?
The number of layers depends on the type and condition of the substrate, deviations in the plane and the expected finished appearance. There is commonly a stage for local repairs or levelling and a separate finish layer for smoothness, but one identical scheme is not suitable for every wall. Each layer should perform its intended role and dry sufficiently before the next operation.
Why is sanding necessary before priming and painting?
Sanding levels marks left by skim coating and reveals high spots, edges, scratches and other defects that paint would highlight. The surface must then be carefully dusted because residual dust can weaken primer adhesion and leave a rough appearance. It is a quality-control stage, not merely preparation for the next material.
What is the role of primer before interior painting?
A suitable primer equalises the absorption of the prepared substrate, binds remaining fine dust and helps paint apply evenly. It can reduce differences in sheen and colour that appear over non-uniform or locally repaired areas. Primer is selected to suit the substrate and paint, and it does not replace correct skim coating and sanding.
How is the quality of painted walls checked?
Inspection is carried out from a normal viewing distance in daylight and under the lighting that will be used in the room. Check colour and sheen consistency, missed areas, runs, roller marks, roughness and the cleanliness of lines around openings and other elements. Raking light is useful for finding more visible defects, especially on long walls and ceilings.
What does a quotation for house skim coating and painting depend on?
The scope depends on room area and height, the condition of walls and ceilings, the need for repairs and levelling, selected materials, number of layers and complexity of details. Protection of completed elements, access to working areas and the required finish quality also have an effect. An inspection makes it possible to assess the necessary preparation realistically rather than working from a general assumption.