What are finishing works?
Finishing works are the stage in which a building or home acquires its actual function, comfort and completed appearance. After rough construction, the property already has its principal structural elements, walls and roof, but it is not yet ready for normal use. The finishing process shapes the rooms, prepares surfaces, integrates installations and creates the visible interior and facade.
The scope of the work depends on the condition of the property and on the intended result. In new construction, the process normally moves from base layers and installation routes to plastering, screeding, tiling, flooring, ceilings, paint and facade systems. In a renovation, some of these steps may also involve demolition, corrections to the substrate, relocation of outlets and restoration of affected areas. In every case, a good result is not simply a collection of attractive materials, but a well-coordinated system of properly completed layers.
Finishing should not be regarded as a decorative stage only. Floor flatness affects flooring and furniture, wall preparation becomes visible in side light, and accuracy around installations matters for daily use and future maintenance. For this reason, choices about materials, details and sequence are best clarified before work begins rather than at the last moment on site.
Planning, scope and coordination before work starts
Before finishing work begins, it is important to clarify the desired final result in every room. This includes the room’s purpose, furniture layout, lighting type, locations for sockets and switches, selection of flooring, wall finishes, sanitary equipment, doors and decorative solutions. Early planning prevents the common situation in which finished surfaces have to be opened again for a missing cable, pipe, opening or support.
It is useful to divide the scope into clear groups of activities: substrate preparation, installations, wet processes, dry construction, tiling and flooring, finish coatings and exterior works. For each group, it should be clear what comes before the work, which materials are required and what the next stage depends on. This makes deliveries, access to the site and the work of different specialists easier to organize predictably.
Coordination between the architectural concept and technical execution is particularly important. For example, tile dimensions can affect levels and layout in a bathroom, flooring thickness determines door positions, and a suspended ceiling must be coordinated with lighting, ventilation and access for inspection. When these dependencies are discussed in time, the risk of compromise solutions and unnecessary rework is reduced.
A practical approach is to prepare a decision list before the start: flooring types and formats, laying direction, grout and paint colours, lighting fixture types, switch and socket heights, door hardware and details around transitions. Not every decorative detail needs to be final on day one, but the critical elements that affect concealed work and finished levels should be agreed.
Electrical and plumbing installations as the basis of finishing
Electrical and plumbing installations are among the most important concealed elements of the finishing process. They are normally completed before the final closure, plastering, tiling or painting of the relevant areas. Routes, outlets and connection points should correspond to the actual layout and the way the space will be used.
For electrical work, this means providing enough sockets, switches, lighting points, appliance connections, internet points and other low-current systems in logical locations according to the specific project. Requirements are often different in a kitchen, bathroom, work area and locations for a television or air conditioning. The position of future furniture also matters, so a socket does not end up hidden behind a cabinet or a switch in an inconvenient location.
Plumbing work includes water supply and drainage routes, outlets for sanitary fixtures, kitchen equipment and other necessary users. Before wall linings are closed or finishes are installed, it is sensible to check outlet locations, access to important connections and their compatibility with the selected equipment. Correcting a position after a bathroom or kitchen is complete usually affects more layers and can lead to additional expense.
Concealed installations must also be coordinated with other systems. A suspended ceiling, for example, can hide cables, ducts or lighting, but openings for necessary maintenance should still be provided. Good organization does not simply mean that routes are invisible; it means they are placed so that they do not interfere with the structure, finishing layers or normal use.
Plastering, wall leveling and substrate preparation
Plastering prepares masonry walls and ceilings for the following finishing operations. It can level surfaces, form straight planes and corners, and create a suitable base for skim coating, paint, wallpaper or certain decorative finishes. The quality of this stage directly affects how much material and labour will later be needed to achieve a smooth appearance.
Before plaster is applied, the substrate should be assessed according to its condition. Dust, unstable areas, material residue, major irregularities and surfaces with unsuitable absorption can affect adhesion and the final result. At transitions between different materials and around openings, careful treatment is often needed because these are areas where movement and visible imperfections can appear more easily.
Flat walls are not only an aesthetic issue. They make the installation of kitchens, wardrobes, skirting boards, doors and wall finishes easier. Properly formed corners and openings affect the detail around doors and windows, while good ceiling preparation makes lighting and final paint look visually more uniform. Irregularities temporarily concealed with a thick layer of fine skim coat are not always a durable solution.
Plastering is a wet process and must be given the required time for technological drying. Temperature, humidity, ventilation, layer thickness and the nature of the substrate can all influence this process. Moving too quickly to later coatings over an insufficiently dry surface may create conditions for stains, poor adhesion or other defects. The schedule should therefore take account of the actual condition of the substrate, not merely the calendar date.
Screeding, floor levels and preparation for flooring
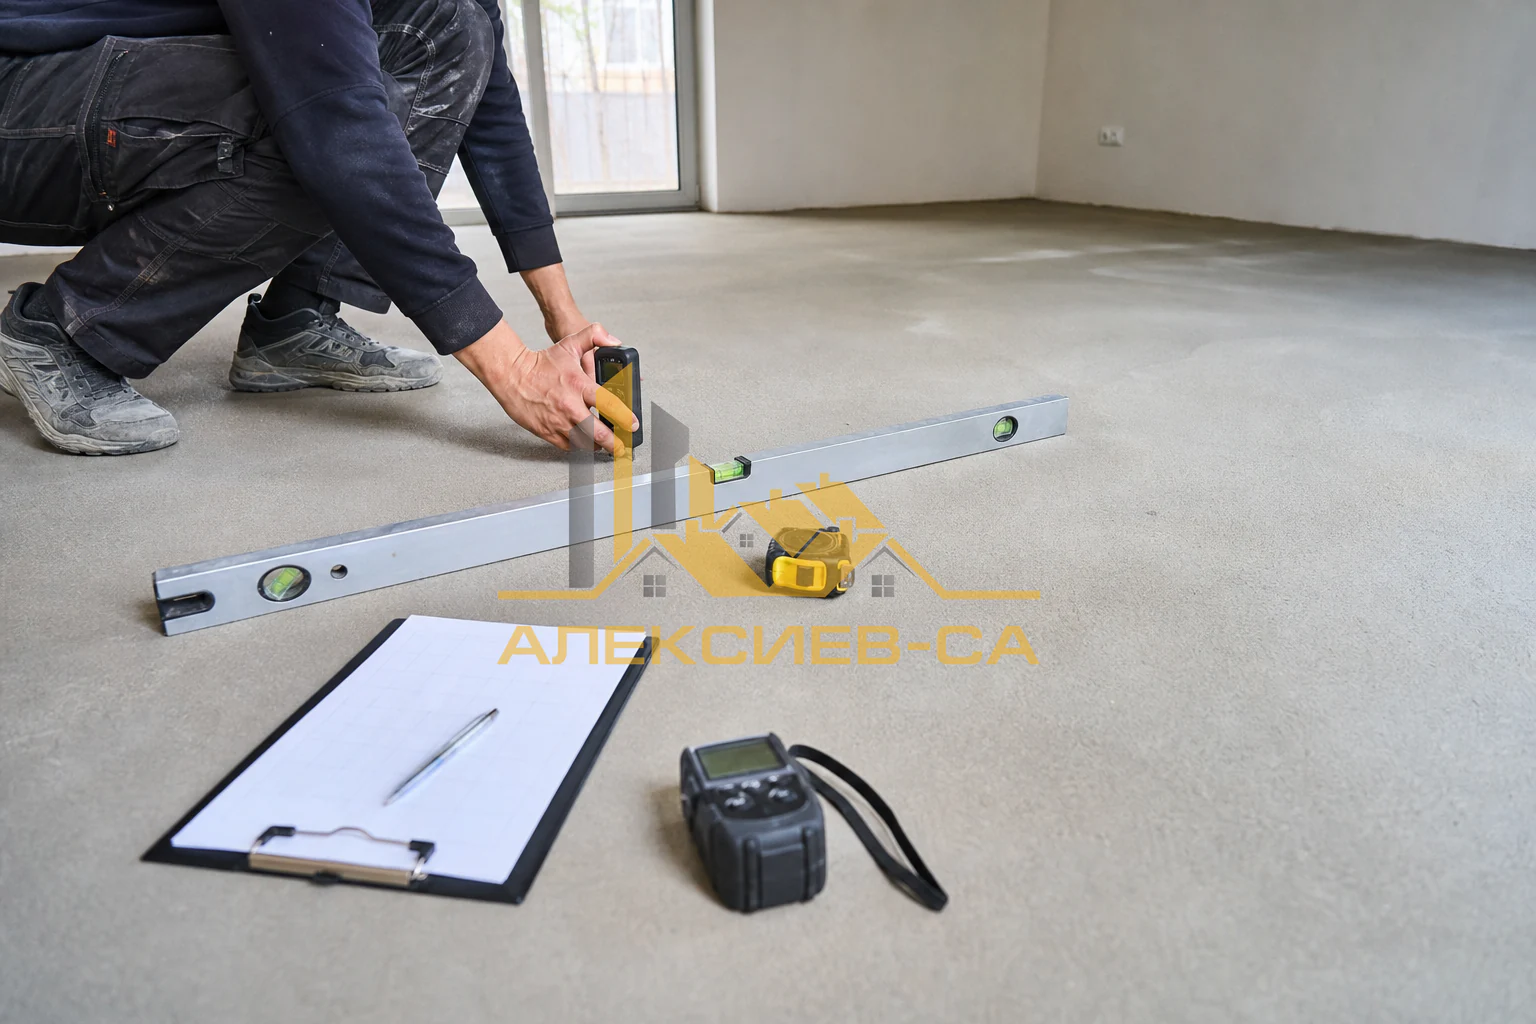
Screeding creates a flat, stable and suitable base for the future floor finish. Depending on the room solution, tiles, natural wood, laminate flooring, vinyl, carpet or other systems may be installed over it. Regardless of the chosen finish, a good substrate is crucial for the appearance, durability and behaviour of the floor in everyday use.
Finished levels should be clarified before execution. Different floor finishes have different build-up thicknesses, and transitions between rooms should be planned to remain convenient and visually clean. This is especially important at entrances, doors, sanitary rooms, terraces and areas with different coverings. Unplanned differences in height often become visible only when flooring is being installed, when the options for an easy correction are already limited.
In rooms where contact with water is expected, slopes and drainage must be considered at the substrate stage. The subsequent finish can follow a correctly shaped surface, but it cannot easily compensate for unsuitable geometry below it. The location of drains, thresholds and sanitary equipment should also be coordinated with the selected tile formats and laying pattern.
As with plaster, moisture is a key factor with screeds. Floor finishes and adhesive systems are installed on a prepared and sufficiently dry substrate in accordance with the instructions for the specific materials. Covering too early can retain moisture or lead to unwanted changes in the finish. Checking flatness, cleanliness, soundness and dryness before the next step is part of good practice, not an unnecessary delay.
Drywall, partition walls and suspended ceilings
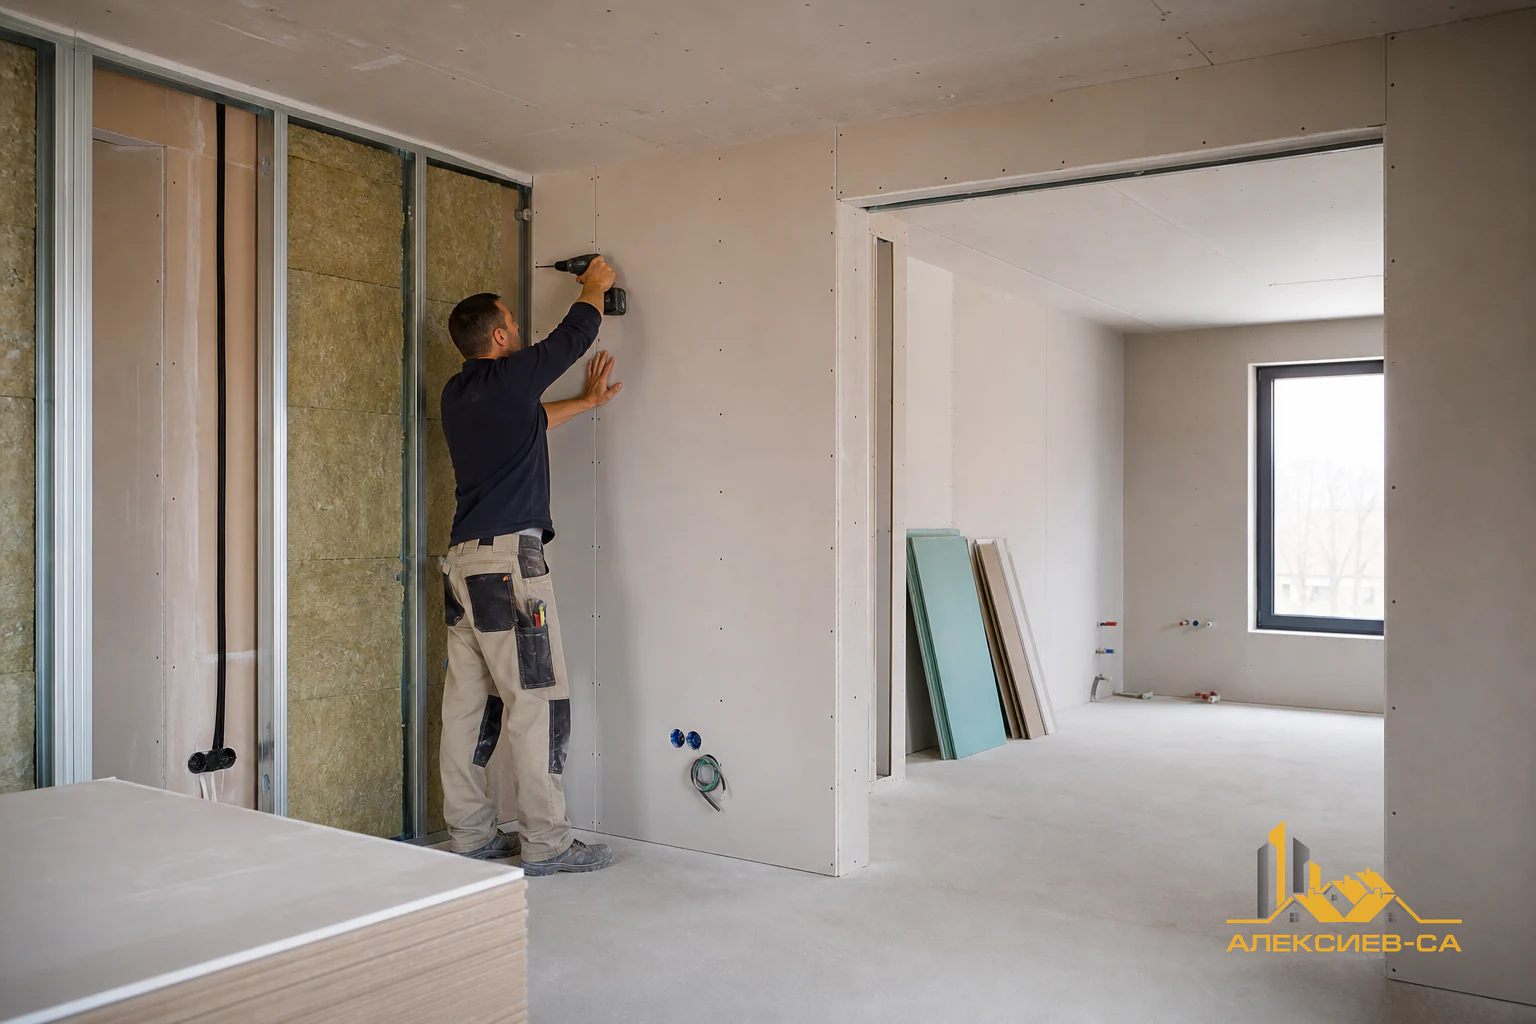
Drywall systems provide flexibility in shaping an interior. They can be used to construct lightweight partition walls, wall linings, niches, decorative elements and suspended ceilings. They are often selected to conceal installations, form lighting features or correct existing surfaces when the solution is appropriate for the specific room.
With partition walls, it is important to consider not only the layout but also what will be installed on them. Cabinets, televisions, sanitary accessories, radiators and other heavier items may require planned reinforcement or a suitable fixing solution in advance. Cable and pipe routes should likewise be coordinated before the system is permanently closed.
A suspended ceiling can improve the geometry of a room and provide space for lighting fixtures, cables and other elements. At the same time, it changes the clear height and should be coordinated with door opening, curtain rails, furniture, air conditioning and ventilation. If the ceiling void contains equipment that may require servicing, access to it should be considered in advance.
Joints, corners and connections between drywall and other surfaces require accurate treatment. These details often become evident after painting, especially in strong daylight or directional artificial light. Suitable preparation and a proper sequence of work are essential for an even completed appearance without compromising the practicality of the room.
Tiling, flooring and details in wet rooms
Wall finishes and flooring are among the most visible elements in a completed interior. They define much of the impression of colour, texture and scale, but a good appearance depends on a carefully prepared substrate. Before installation, levels, layout, laying direction, grout width and colour, as well as details around corners, openings, drains and transitions to other materials should be agreed.
With ceramic finishes, the placement of the first rows is decisive for symmetry and for the appearance of cut pieces. In a bathroom or kitchen, it is useful to assess how tiles will be arranged around sanitary equipment, cabinets, niches and visible axes. Selecting a large format does not remove the need for precision; it often makes substrate deviations and misalignment between rows more noticeable.
Wet rooms require particularly careful coordination between substrate preparation, the waterproofing solution, slopes, drainage and tiling. Every layer has its own role and should not be assessed in isolation solely by the appearance of the final visible layer. Details around corners, pipe penetrations, drains and connections to other surfaces are important for the reliability of the completed room.
For other floor finishes, preparation is determined by the particular system. Flatness, moisture and cleanliness of the substrate are important for both rigid finishes and more flexible coverings. Skirting boards, profiles and transition strips are not secondary details: they complete the connection between floor and wall, cover necessary movement gaps and influence the cleanliness of the finished detail.
Skim coating, painting and finish coatings
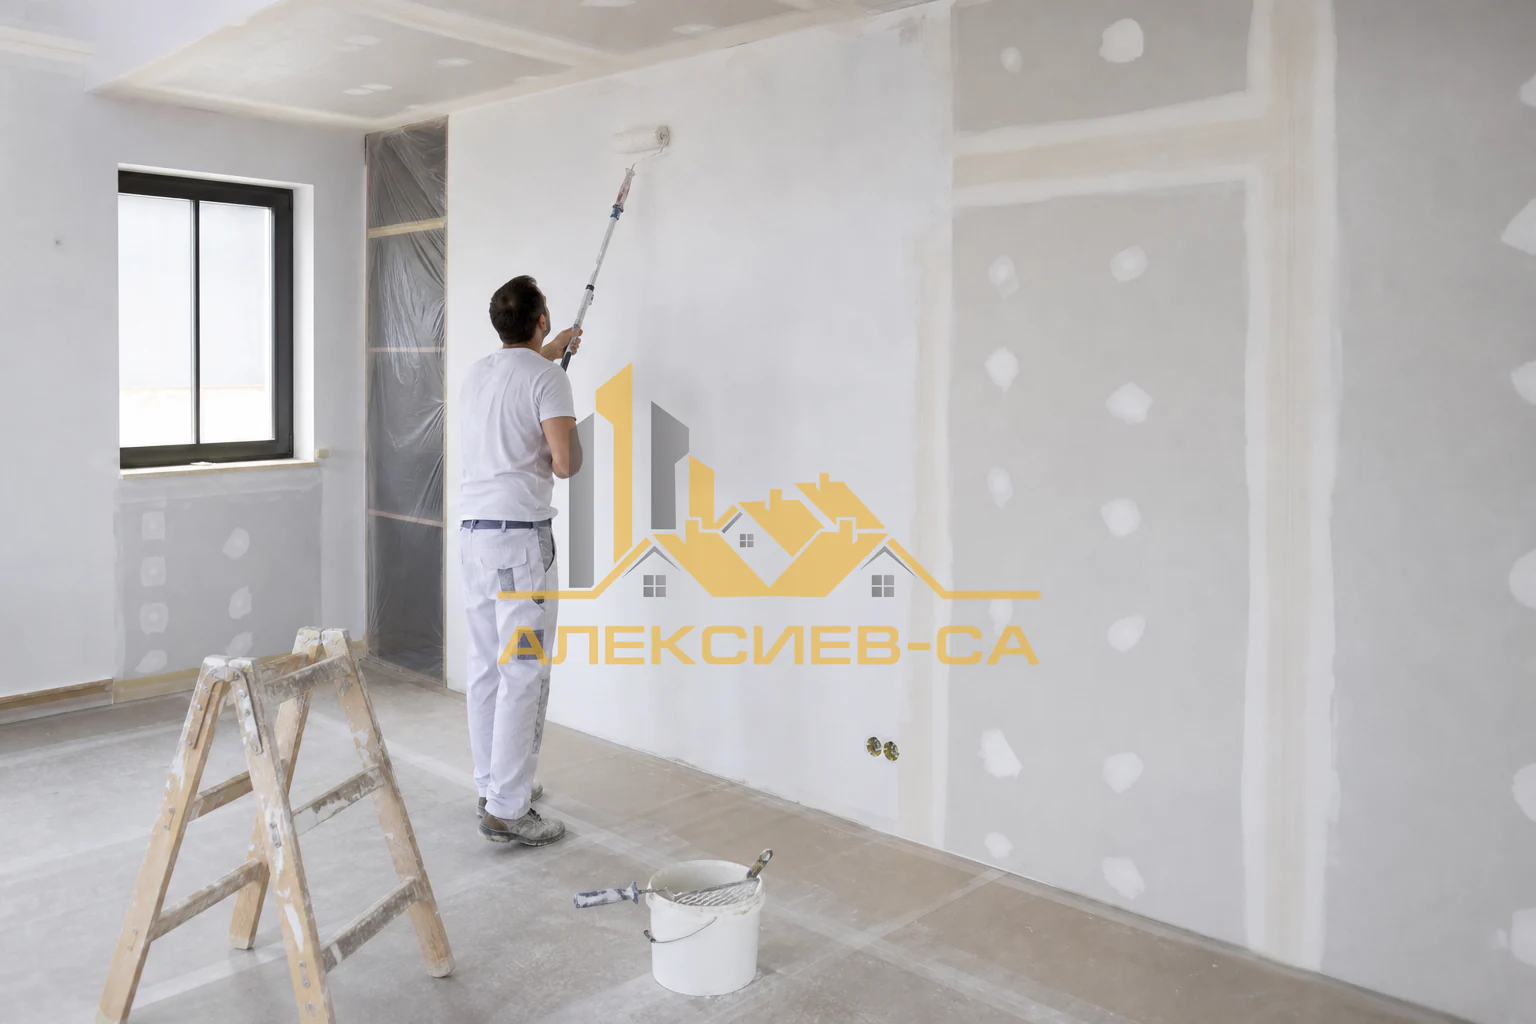
Skim coating is the transition between the main preparation of walls and the visible finish coating. It helps achieve a smooth and consistent surface suitable for paint, wallpaper or certain decorative solutions. Its quality is revealed most clearly after paint is applied, when light exposes shadows, tool marks, uneven corners and imperfections across flat surfaces.
Preparation before painting includes more than skim coating. It also involves careful sanding, dust removal, priming, protection of adjacent elements and inspection of the substrate. The paint type and desired effect should suit the room and the expected level of surface use. Colour is not perceived in the same way under every light either; natural light, room orientation and selected lighting fixtures can change the impression of a shade.
It is good practice to review samples on site when the choice of colour or decorative texture is important. A small catalogue sample does not always show how a coating will look across a large wall, next to flooring and under the actual lighting. Samples also help align expectations between the client, designer and contractor.
Final painting is normally planned after dusty, heavy and potentially damaging work on completed surfaces has finished. Installation of doors, furniture, lighting and other elements should also be organized carefully so that newly completed walls and ceilings are not damaged. A structured final stage reduces the need for touch-ups and allows clearer quality control.
Thermal insulation, waterproofing and facade works
Finishing works can also include exterior systems that protect a building and shape its appearance. Thermal insulation relates to comfort inside the rooms and to the way the building envelope responds to external conditions. The facade coating, in turn, is the visible finish that must work together with the prepared substrate, insulation layer and details around openings and junctions.
A durable facade result depends on substrate preparation, correct arrangement of layers and attention to vulnerable areas. These include plinths, edges, corners, window and door openings, terraces, connections to roof elements and installation penetrations. Water should be directed and controlled through a complete solution, rather than only by applying a finish coating to the visible surface.
Waterproofing is important in areas exposed to moisture or weather, including certain parts of bathrooms, terraces, roofs and foundations depending on the particular structure. It should be compatible with adjacent layers and protected where later work could damage it. Penetrations and details around passing elements deserve special attention, because a small omission can remain hidden until a visible problem appears.
Exterior work depends on weather conditions and the condition of the substrates. Appropriate planning accounts for these factors, as well as the need for different layers to be installed and allowed to stabilize in accordance with the system solution. A quality facade is not only a matter of colour and texture, but of a functioning combination of protection, detailing and good preparation.
Correct sequence, drying and quality control
The most common problems in finishing work are not caused only by one material or one operation, but by an incorrect sequence. The general principle is to complete work that is concealed, wet, dusty or able to damage finished surfaces first, and then progress toward increasingly fine finishes. This does not mean every property follows an identical schedule, but the logic of the dependencies should be preserved.
Installation routes and required openings are clarified before walls, ceilings and floors are closed. Plaster and screeds are allowed to dry sufficiently before sensitive finishes are applied over them. Tiles and floors are protected from dirt and mechanical damage, while final painting is coordinated with the remaining installations. Whenever equipment choices change, it should be assessed whether they affect layers that have already been completed.
Quality control is most effective when carried out by stages rather than only at the end. Before installations are covered, outlets and routes can be checked. Before flooring, levels and the substrate are assessed. Before painting, walls are viewed under suitable light. With tiling, straight lines, joints, slopes and finishing details are monitored. Identifying a deviation early normally allows a simpler correction.
It is useful not to reduce acceptance of the work to a general impression from a distance. Inspect wall and ceiling planes, transitions between materials, corners, openings, visible cuts, grout cleanliness and the operation of installed elements. Check whether the agreed materials and solutions correspond to what has been completed. A list of remaining minor corrections is a normal part of final inspection when it is specific and traceable.
How to choose execution and materials for a better result
Quality finishing work requires a balance between budget, desired appearance, technical compatibility and the actual conditions on site. The most expensive individual material cannot by itself compensate for an unprepared substrate, while saving on important intermediate layers often creates risk for the visible finish. It is more useful to consider solutions as a system: substrate, preparation, adhesive or bonding layer, finish and completion detail.
When choosing a contractor, pay attention to the clarity of the scope and the willingness to coordinate the different activities. Good communication includes clarification of sequence, materials, critical details and the method for accepting individual stages. This is a more reliable basis for expectations than a vague general promise of a “complete renovation” or “turnkey finish” without specific content.
Keep decisions documented in a clear form: selected colours, flooring series, tile formats, lighting layout, installation changes and approved samples. This helps preserve a common direction for the project when different specialists are involved. Documentation is also useful for later maintenance because it makes it easier to understand what has been installed behind finished surfaces.
The finishing stage deserves time for planning and inspection because it determines how the space will look and feel every day. A good substrate, correct technology, patience during drying and attention to small details work together. When the process is organized, the likelihood of repeat repairs is reduced and a more functional, consistent and complete result can be achieved.
Planning finishing works?
Send an inquiry to discuss the scope of work, the sequence of stages and the important details for your property.
Frequently asked questions
What do finishing works include?
The scope may include installations, plastering, screeding, drywall, tiling, flooring, skim coating, painting, insulation and facade activities, depending on the condition and purpose of the property.
When do finishing works begin?
They normally begin after rough construction and the main structural work have been completed, when the property is ready for installations and internal build-up layers.
Why are installations completed before finish coatings?
Cables, pipes, outlets and required openings are often concealed behind plaster, linings and tiles. Coordinating them early avoids breaking open surfaces that have already been completed.
Why should plaster and screeds be allowed to dry?
An insufficiently dry substrate can adversely affect later coatings, adhesives, skim coats and paint. Drying time should be assessed according to the material and the actual conditions on site.
What matters when choosing flooring and wall finishes?
The format, layout, finished levels, transitions, joints and details around openings or drains should be coordinated, along with the preparation of the substrate for the selected system.
How can I check the quality of finishing works?
Carry out inspections during individual stages and finally check planes, corners, joints, transitions, visible details, cleanliness of execution and compliance with the materials that were agreed.