Do Not Cover a Screed Just Because It Looks Dry
A screed is ready for flooring when it meets both the requirements of the selected covering, adhesive or underlay and the conditions in the room. A surface that looks dry is not sufficient evidence. Moisture may remain inside the layer, while a small level deviation, weak area or untreated crack may only become apparent after installation.
Before scheduling tile, parquet, laminate, vinyl or another finish, clarify the complete system: screed type, intended covering, installation method, primer, adhesive, levelling product and whether underfloor heating is present. These decisions determine what must be measured and what result is acceptable. There is no single calendar number of days that proves readiness for every screed and every floor finish.
In new construction and renovation alike, the condition of the room also matters. Later wet trades, leaks, inadequate protection from weather or early heating operation can change the moisture level in the substrate. Therefore, the check should be carried out as close as possible to installation and documented before the floor is permanently covered.
Start with the Floor Covering and Installation Method
Different coverings respond differently to moisture and unevenness. Ceramic tiles are commonly installed with an adhesive mortar and allow limited local correction within the system, but they do not solve an unstable or substantially uneven substrate. Timber flooring and many resilient finishes are more sensitive to residual moisture because it may affect the adhesive, material dimensions or the appearance of the finish. Floating laminate does not automatically compensate for an uneven base either: loading may cause movement, noise or damage to the joints.
Before the flooring contractor accepts the floor, provide the product data if the finish has already been selected. Not only the name of the flooring matters, but also its exact installation method. The same type of parquet, for example, may be bonded or installed differently, and the requirements for the substrate and preparation products may vary.
| Covering or system | What is critical to clarify | Remaining risk with an unsuitable substrate |
|---|---|---|
| Tile and stone | Flatness, stability, cracks, adhesive compatibility | Voids, cracked grout, debonding or an uneven appearance |
| Bonded parquet | Residual moisture, surface strength, adhesive system | Distortion, weakened bond or timber damage |
| Laminate and other floating floors | Flatness, underlay, moisture protection according to the system | Movement, squeaking, opening joints or stressed click connections |
| Vinyl and resilient flooring | Very smooth surface, moisture, local defects | Telegraphed irregularities, bubbles or visible seams |
It is also useful to clarify the final finished floor level. The thickness of the covering, adhesive, any levelling layer and transitions to adjacent rooms affect thresholds, doors, drains, steps and fixed furniture. If this is checked after materials are bought, correction is often more difficult.
Residual Moisture Must Be Measured, Not Judged by Eye
Drying depends on the screed type and thickness, product composition, temperature, air humidity, ventilation and actual site conditions. Ventilation and heating can support the process only when they follow the system instructions; rapid or uncontrolled drying can create stresses and surface defects. Therefore, do not use a general rule such as “one week per layer” as permission to install flooring.
Residual moisture should be assessed with a method applicable to the specific substrate and accepted by the flooring or adhesive manufacturer. Agree in advance which method will be used, where samples will be taken, who records the results and against which technical instructions they will be interpreted. A surface electronic meter can be useful for initial guidance and for identifying differences between zones, but by itself it is not always sufficient for a decision on a sensitive covering.
Pay particular attention to areas near external walls, balcony doors, bathrooms, zones above services and areas that were wetted during construction. If measurement shows different results, it is not sensible to decide based on the driest point. Establish whether the difference is temporary, whether there is a local moisture source, or whether more time and controlled drying are required.
Request a record showing the date, room, substrate type, method used, measurement locations and recorded results. This short report is not merely a formality: it gives the owner, flooring installer and material supplier a shared reference point if a disputed issue arises later.
Flatness Must Be Checked Across the Whole Floor
A flat floor does not necessarily mean a perfectly horizontal floor. In some rooms, the design requires a fall, for example towards drainage. In other cases, the task is for the surface to have the geometry required by the flooring and finished level. A visual check from the doorway does not reveal gradual waves, local high spots or hollows that will interfere with installation.
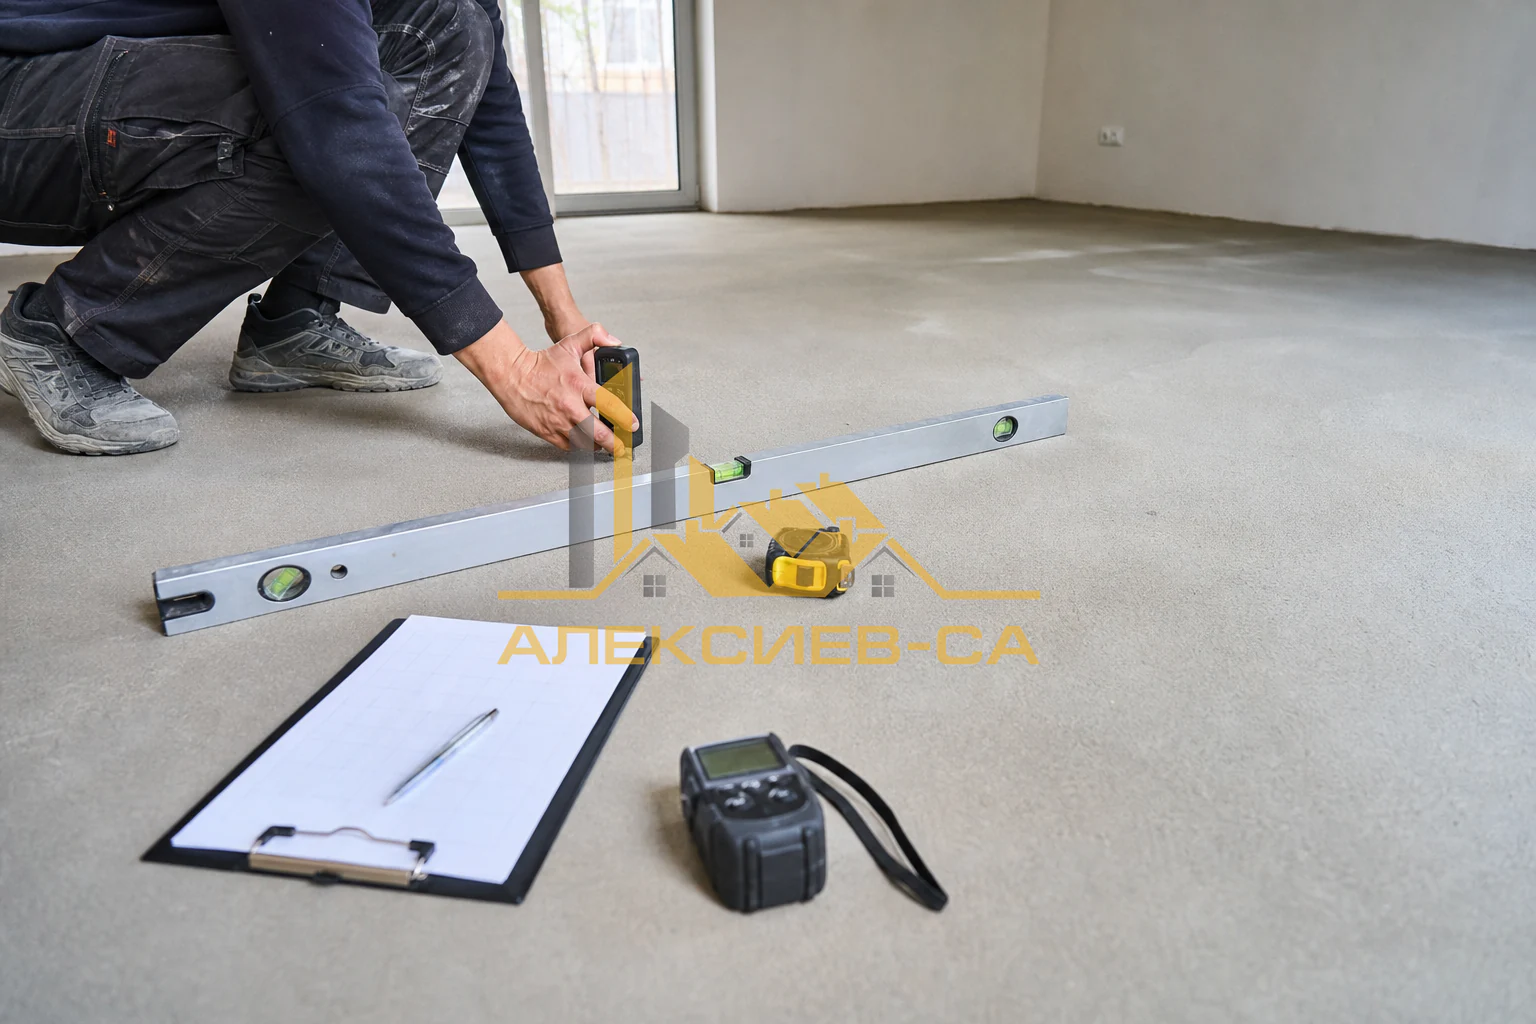
Flatness is assessed using a suitable straightedge, level or another agreed tool and an appropriate measurement pattern. The check directions should cross the room rather than follow only one line. Mark identified deviations on the substrate or on a plan so that it is clear which areas require correction. The criteria should follow the flooring and system instructions, not a universal value selected without reference to the product.
Check separately:
- transitions between rooms and areas around thresholds;
- locations next to walls, columns, shafts and door frames;
- large open areas where light reveals waves;
- zones with long boards, large-format tiles or fixed furniture;
- falls and drainage in wet rooms before they are covered.
A small high spot can break the straight line of a floor finish, while a hollow can leave inadequate support under a floating floor or locally increase adhesive consumption. The answer is not always simply to add more adhesive. Depending on the defect and selected system, grinding, local repair, a levelling layer or another preparation method compatible with the substrate may be needed.
Check Strength, Cleanliness and Cracks Before Priming
Before covering, the screed should be stable at the surface, clean and free of weak layers that interfere with adhesion. Inspect it in good light and walk the entire area. Crumbling, dust when lightly rubbed, a hollow sound, delamination at edges or easy chipping are signs that should be assessed rather than hidden with primer or adhesive.
A crack is not a single diagnosis either. It may be superficial, related to drying, follow a structural joint or indicate movement in the substrate. Its width, direction, whether there is a height difference on either side, whether it is widening and what lies beneath the screed all matter. Before repair, clarify whether filling, bonding, separating the finish over the joint or another system solution is required.
Dust, paint residue, gypsum, construction compounds, oils and sticky contamination can reduce adhesion. Coordinate cleaning with the sequence of works: the floor should not be carefully prepared and then contaminated by the next wet trade or installation stage. Inspect the perimeter as well. Joints, edge strips, pipe penetrations and connections to other structures should remain executed according to the intended detail, not filled arbitrarily because they appear to interfere with flooring.
Underfloor Heating Requires Coordination, Not Just Waiting
With underfloor heating, screed readiness depends at the same time on the screed system, heating system and covering. Before covering, it should be clear whether the installation was checked before it was embedded, how temperature will be managed during drying and whether the system specifies a gradual commissioning procedure. The exact sequence comes from the documentation for the products and equipment used.
Do not switch heating on or off abruptly merely to accelerate the schedule. Temperature changes may affect moisture and stresses in the layer. Where a heating-cycle record is specified, keep it together with the moisture measurement data. This is especially useful with bonded timber flooring and other coverings where substrate conditions are critical.
Before installation, clarify the following questions with the flooring contractor:
- What screed type is present and which technical documentation applies to it?
- Which moisture measurement method does the selected flooring or adhesive require?
- Have flatness, cracks and strength been checked after all wet works are complete?
- Are there joints, heated zones or transitions that must be carried through the flooring?
- Under what conditions will the flooring be stored and installed in the room?
These questions prevent a common mistake: each participant assuming that someone else has checked the substrate. The owner does not need to make a technical diagnosis alone, but can request clear responsibilities, measurable checks and a decision before irreversible installation begins.
Accept the Substrate in Writing Before It Is Covered
Before signing, compare the marked areas with the actual floor rather than photographs alone. Ask specifically whether any areas have not been checked because materials are stored there or access is restricted. Those areas should be cleared and inspected before installation.
The most useful moment for control is between completion of the screed and the first flooring layer. After bonding or laying the finish, much of the substrate is no longer visible and the cause of a future defect is harder to determine. Arrange a short joint inspection with the screed contractor and flooring contractor where the scope allows it.
Prepare a simple acceptance record for each room. It does not need to contain unverified promises; its purpose is to describe the actual condition and remaining actions. It may include the date, room, selected flooring, measurements, visible defects, agreed repairs, responsible person and time for rechecking. Take photographs of characteristic areas and important details before they disappear beneath the covering.
If there is a non-conformity, clarify the cause first and then choose the correction. Covering moisture with a barrier, levelling an unstable substrate or ignoring a joint may look like a quick solution, but it works only where explicitly permitted within the selected system. Where there is uncertainty, manufacturers’ technical documentation and assessment by a qualified specialist are a more reliable basis than an unverified on-site decision.
How to Compare Quotes for Screed Preparation
When the substrate needs correction, compare proposals on the same scope rather than only on the final amount. One quote may include inspection, measurement, mechanical preparation, primer and levelling, while another may state only application of a material. Without quantities and exclusions, the two proposals are not comparable.
| What the quote should include | Clarification to request |
|---|---|
| Activity | Measurement, cleaning, grinding, crack repair, primer, levelling or another specific operation |
| Unit and quantity | Area, linear metres, number of local repairs or another clear measure |
| Labour and materials | Whether they are separated and which products are intended as a system |
| Included and excluded items | Moving belongings, protection, waste removal, repeat measurements and preparation of adjacent zones |
| Tax treatment | Whether VAT is included and how quantity changes are accounted for |
For a wider scope of work, explore ALEKSIEV-SA’s screeding and finishing-work services. The inspection and quotation should be based on the actual condition of the property and the selected flooring, rather than an assumption that every screed is prepared in the same way.
Need an inspection and preparation of a floor substrate?
Send information about the rooms, screed type and planned floor covering so the required scope can be clarified.
Frequently asked questions
Can flooring be installed if the screed is hard but has not yet been measured?
A hard surface indicates that the screed has gained a certain level of strength, but it does not prove its residual moisture or compatibility with the selected flooring. Especially for timber, vinyl and bonded systems, request measurement by an applicable method and compare the result with the product’s technical instructions.
Is it enough that the screed has no visible damp patches?
Not necessarily. Visible patches show the condition at the surface, while deeper layers may retain moisture. The absence of patches is a useful observation, but the installation decision should be based on measurement, substrate condition and the requirements of the specific system.
What should be done with small cracks in a screed?
First establish the crack type and cause, as well as whether there is a height difference on its two sides. Then select a compatible repair or separation detail according to the flooring and system. Not every crack is treated in the same way, and not every crack should simply be filled.
Can tile adhesive level an uneven screed?
Adhesive should not be treated as a universal levelling layer. It should be applied within the conditions and thicknesses specified by its manufacturer, while substantial deviations are corrected beforehand with a suitable method. This reduces the risk of uneven installation, voids and excessive material consumption.
When should moisture testing be carried out with underfloor heating?
Testing should be planned after the required procedure for the screed and heating system has been completed and as close as possible to flooring installation. Clarify the method, heating regime and criteria through the documentation for the products used, because they can differ between systems.
Who accepts the screed before flooring is installed?
The best approach is to coordinate acceptance between the owner, the substrate contractor and the flooring contractor. The flooring contractor should confirm that conditions are suitable for that system, and it is sensible to record all measurements, defects and agreed corrections before the substrate is covered.